")


Some of the articles on Casa Diem Life may contain affiliate links. If you click and make a purchase, I might earn a small commission at no extra cost to you. It's just one way we keep the journey going! Find out more in my Privacy Policy.
MisterE and I have been coveting a king sized bed since Hurricane was born, but it was never really a priority (and it was never really in the budget), so it kept getting put off. When Chief came along, however, our morning family cuddles became a fight for survival. Inevitably, someone would be pushed over the side of the bed. That someone was always me.

I decided the time had finally come for an upgrade, so one night I cooked bought MisterE’s favorite meal, batted my eyelashes, and convinced him that a king sized bed was a necessity! Score one for womanly wiles!
MisterE in his sweet, innocent naivety thought that we were, indeed, just buying a king sized bed. Ha!!! Honestly, he acts like he doesn’t know who he married.
When I said “king sized bed,” what I really meant was, “king sized bed with an adjustable base, a bedframe, a large area rug, two sets of beddings and some fresh pillows, a gallon of paint, potted plants, new drapes, a chandelier, and fresh artwork for the walls.”
All within budget, of course.
Just kidding, I totally went over budget!
BUT I used my pocketmoney to cover the difference so MisterE had no beef with me.
We waited a month for our bed to be delivered, which was just fine by me as I could spend time hunting for deals on the decor items I wanted. As the bed’s delivery date drew closer, MisterE began to grow suspicious of all the packages arriving at the house. Luckily for me, this all happened in December so I was able to pass some things off as Christmas gifts.
It was when the giant area rug arrived that it dawned on MisterE that our master bedroom was (finally) getting a PaperDiem makeover!
He just sighed and reminded me of the budget. I smiled and reminded him that he knew who I was before he married me.
Okay, I know I’ve totally hyped up this bedroom makeover, but I actually won’t be doing the reveal today (because I haven’t taken pictures yet). I know, I know, I’m the worst!
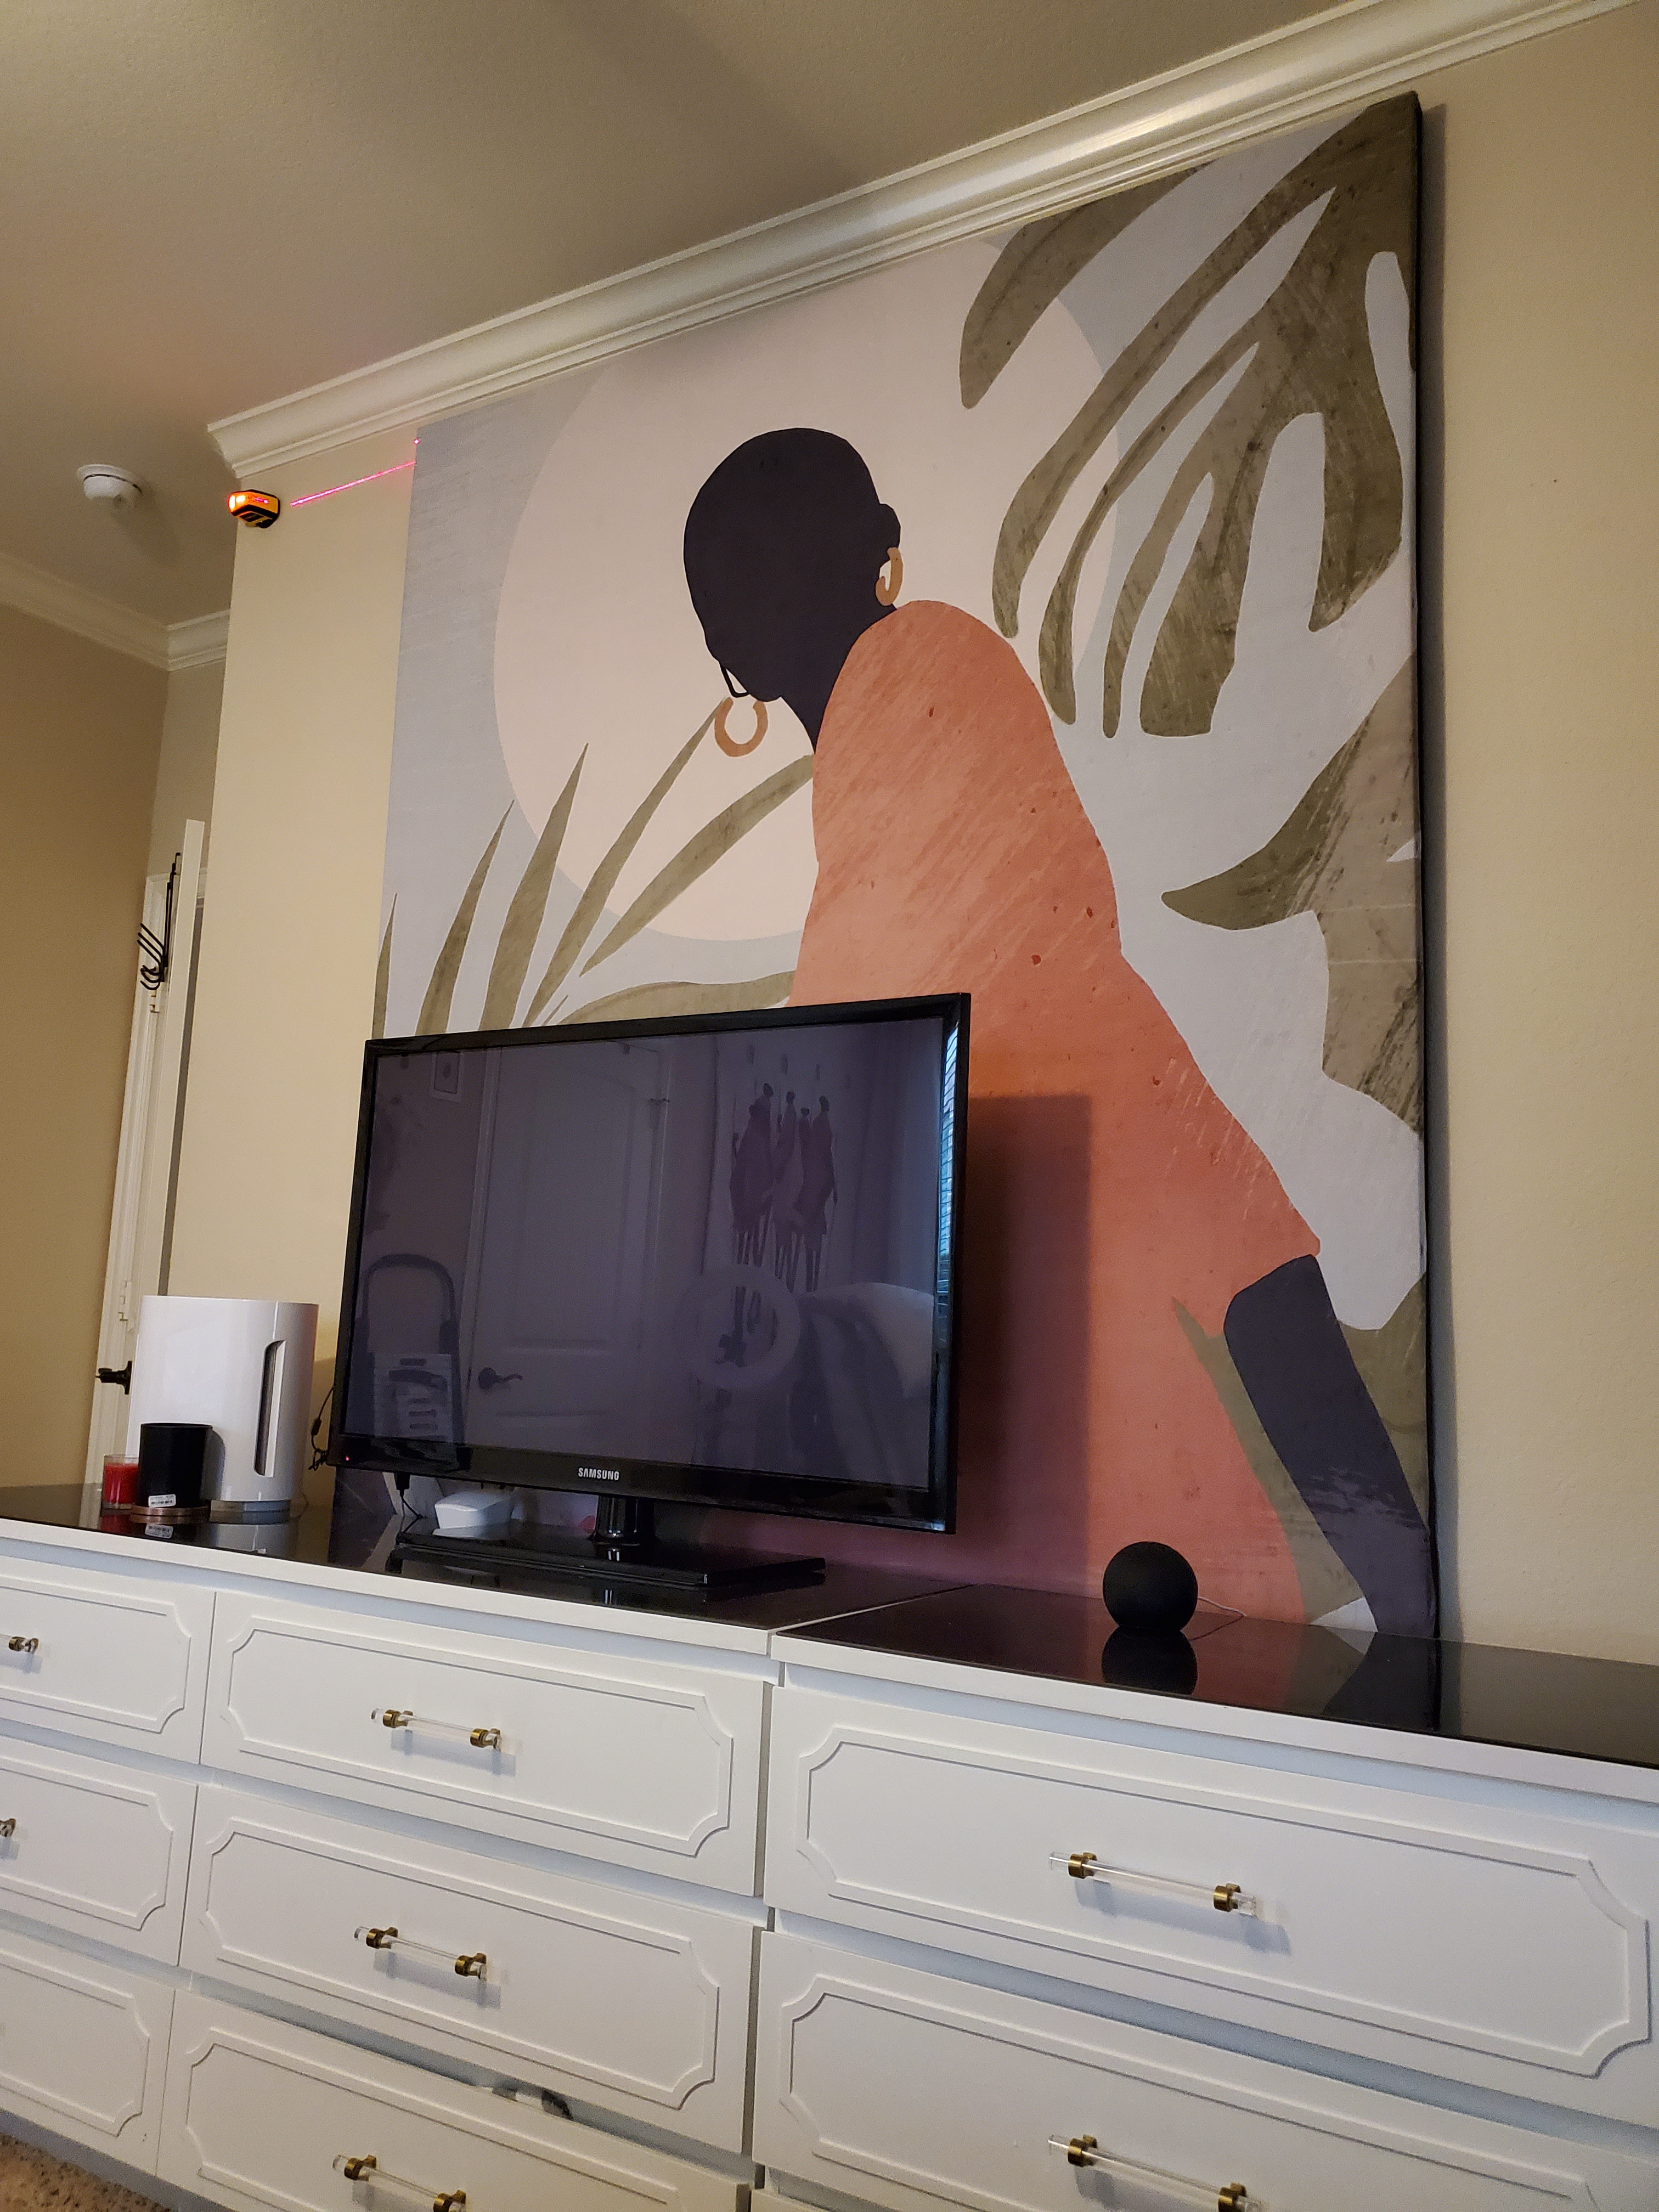
I’m not going to leave you hanging though. For now I’ll walk you through how I built the oversized artwork that is hanging over our chest of drawers. It’s super easy and super cheap, and I think you’re going to love it!
Experience Level : Beginner
Time Commitment : 1 hour without kids, 3 hours with kids
Tools and Supplies:
- Impact driver
- 1-½ inch wood screws
- Angle / corner Clamp
- Staple gun (and staples)
- Scissors
- Opaque fabric (I used some leftover weed barrier. You can use a cheap or old bedsheet)
- Wood for your frame
- The artwork you’ll be stretching
- Canvas hangers
Sourcing the artwork is going to be the biggest variable cost for this project. As is expected, the bigger your piece, the higher your cost. That said, even if you create an 80” x 100” frame this project will come in under $100. That is not a typo.
The all important question: where can you find this mythical, oversized artwork for so little money?
Drumroll, please…
Tapestries offered at Society6!
I discovered Society6 a little over a year ago when I needed to cover an oppressively blank wall in my living room. I needed something abstract measuring 75” x 60”. Weird dimensions, I know.
I found a lot of not-quite-right art pieces ranging from $1,800 to $9,000! Let me tell you right now that there was no point bringing up $9,000 artwork in any of our budget meetings.
I quickly realized I would need to DIY what I needed, and once I shifted my mindset from consuming to creating, I came up with a plan that led me to Society6.

I purchased this tapestry from the site in the medium size (68”x80”) for the artwork in the living room, and I purchased this tapestry in the same size for the artwork in our bedroom.
I bought all my needed supplies from Lowe’s. The wood I used is called “whitewood.” It is incredibly light and incredibly cheap because it’s quite ‘meh.’ I definitely don’t recommend building furniture with this stuff.
Tip: Because white wood is so light, it tends to bow quite a lot. This won’t matter if you’re making a small frame, but for larger projects take your time to find the straightest pieces available.
Once you have all your supplies, this project is a simple five step process which can be done in the comfort of your living room… except the wood cuts. Wood dust is a nightmare to get out of upholstery. Am I speaking from experience? Yes.
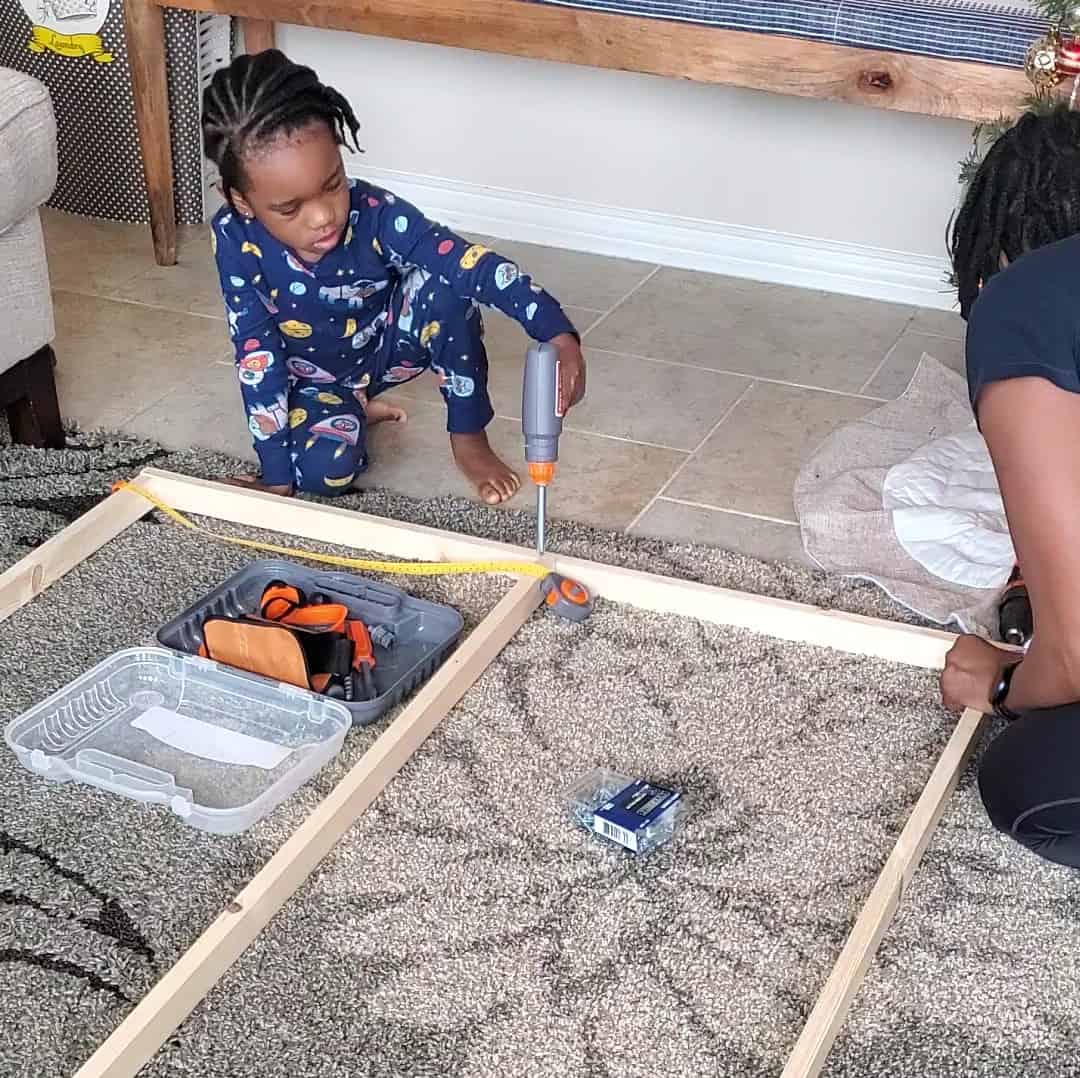
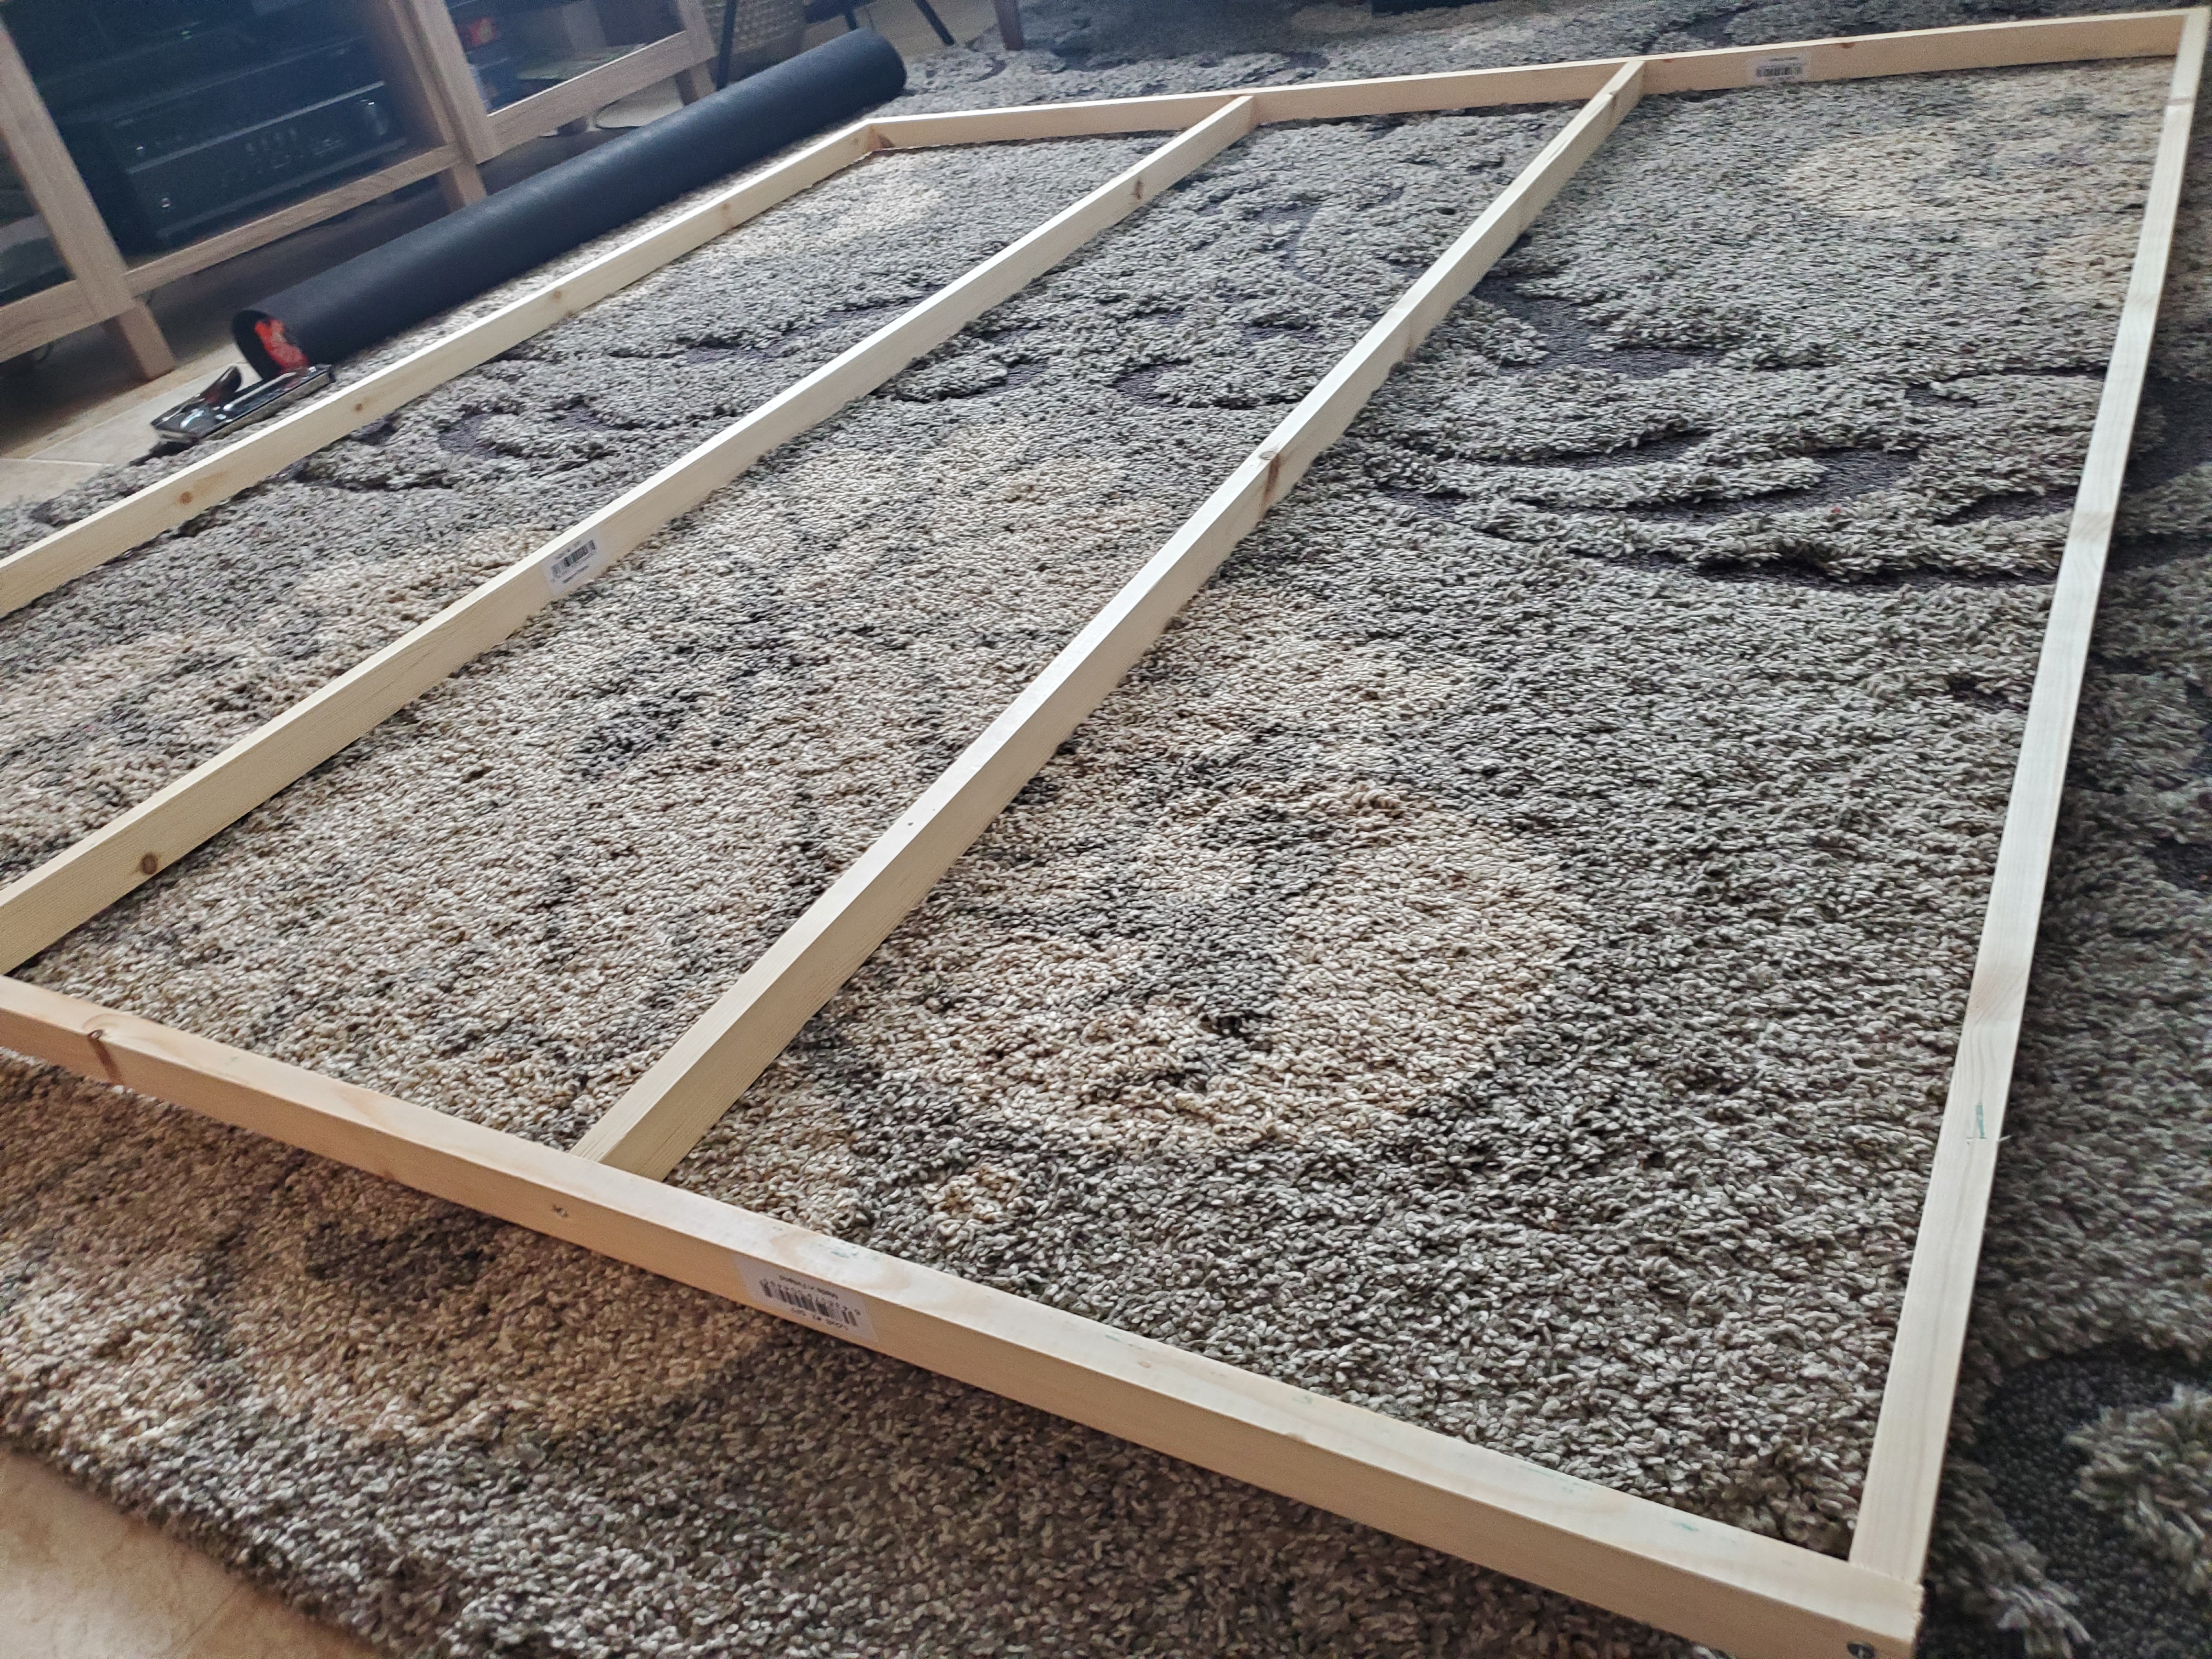
Step 1: I cut my wood down to two pieces at 76”, and four pieces at 64”.
Step 2: To build the frame, I laid the 76” pieces parallel to each other, then connected them with the four shorter pieces, all evenly spaced out. The goal is a sturdy rectangle. I used my impact driver to drill two screws, one inch apart, at each connection. This is all, obviously, the technical lingo for this stuff.
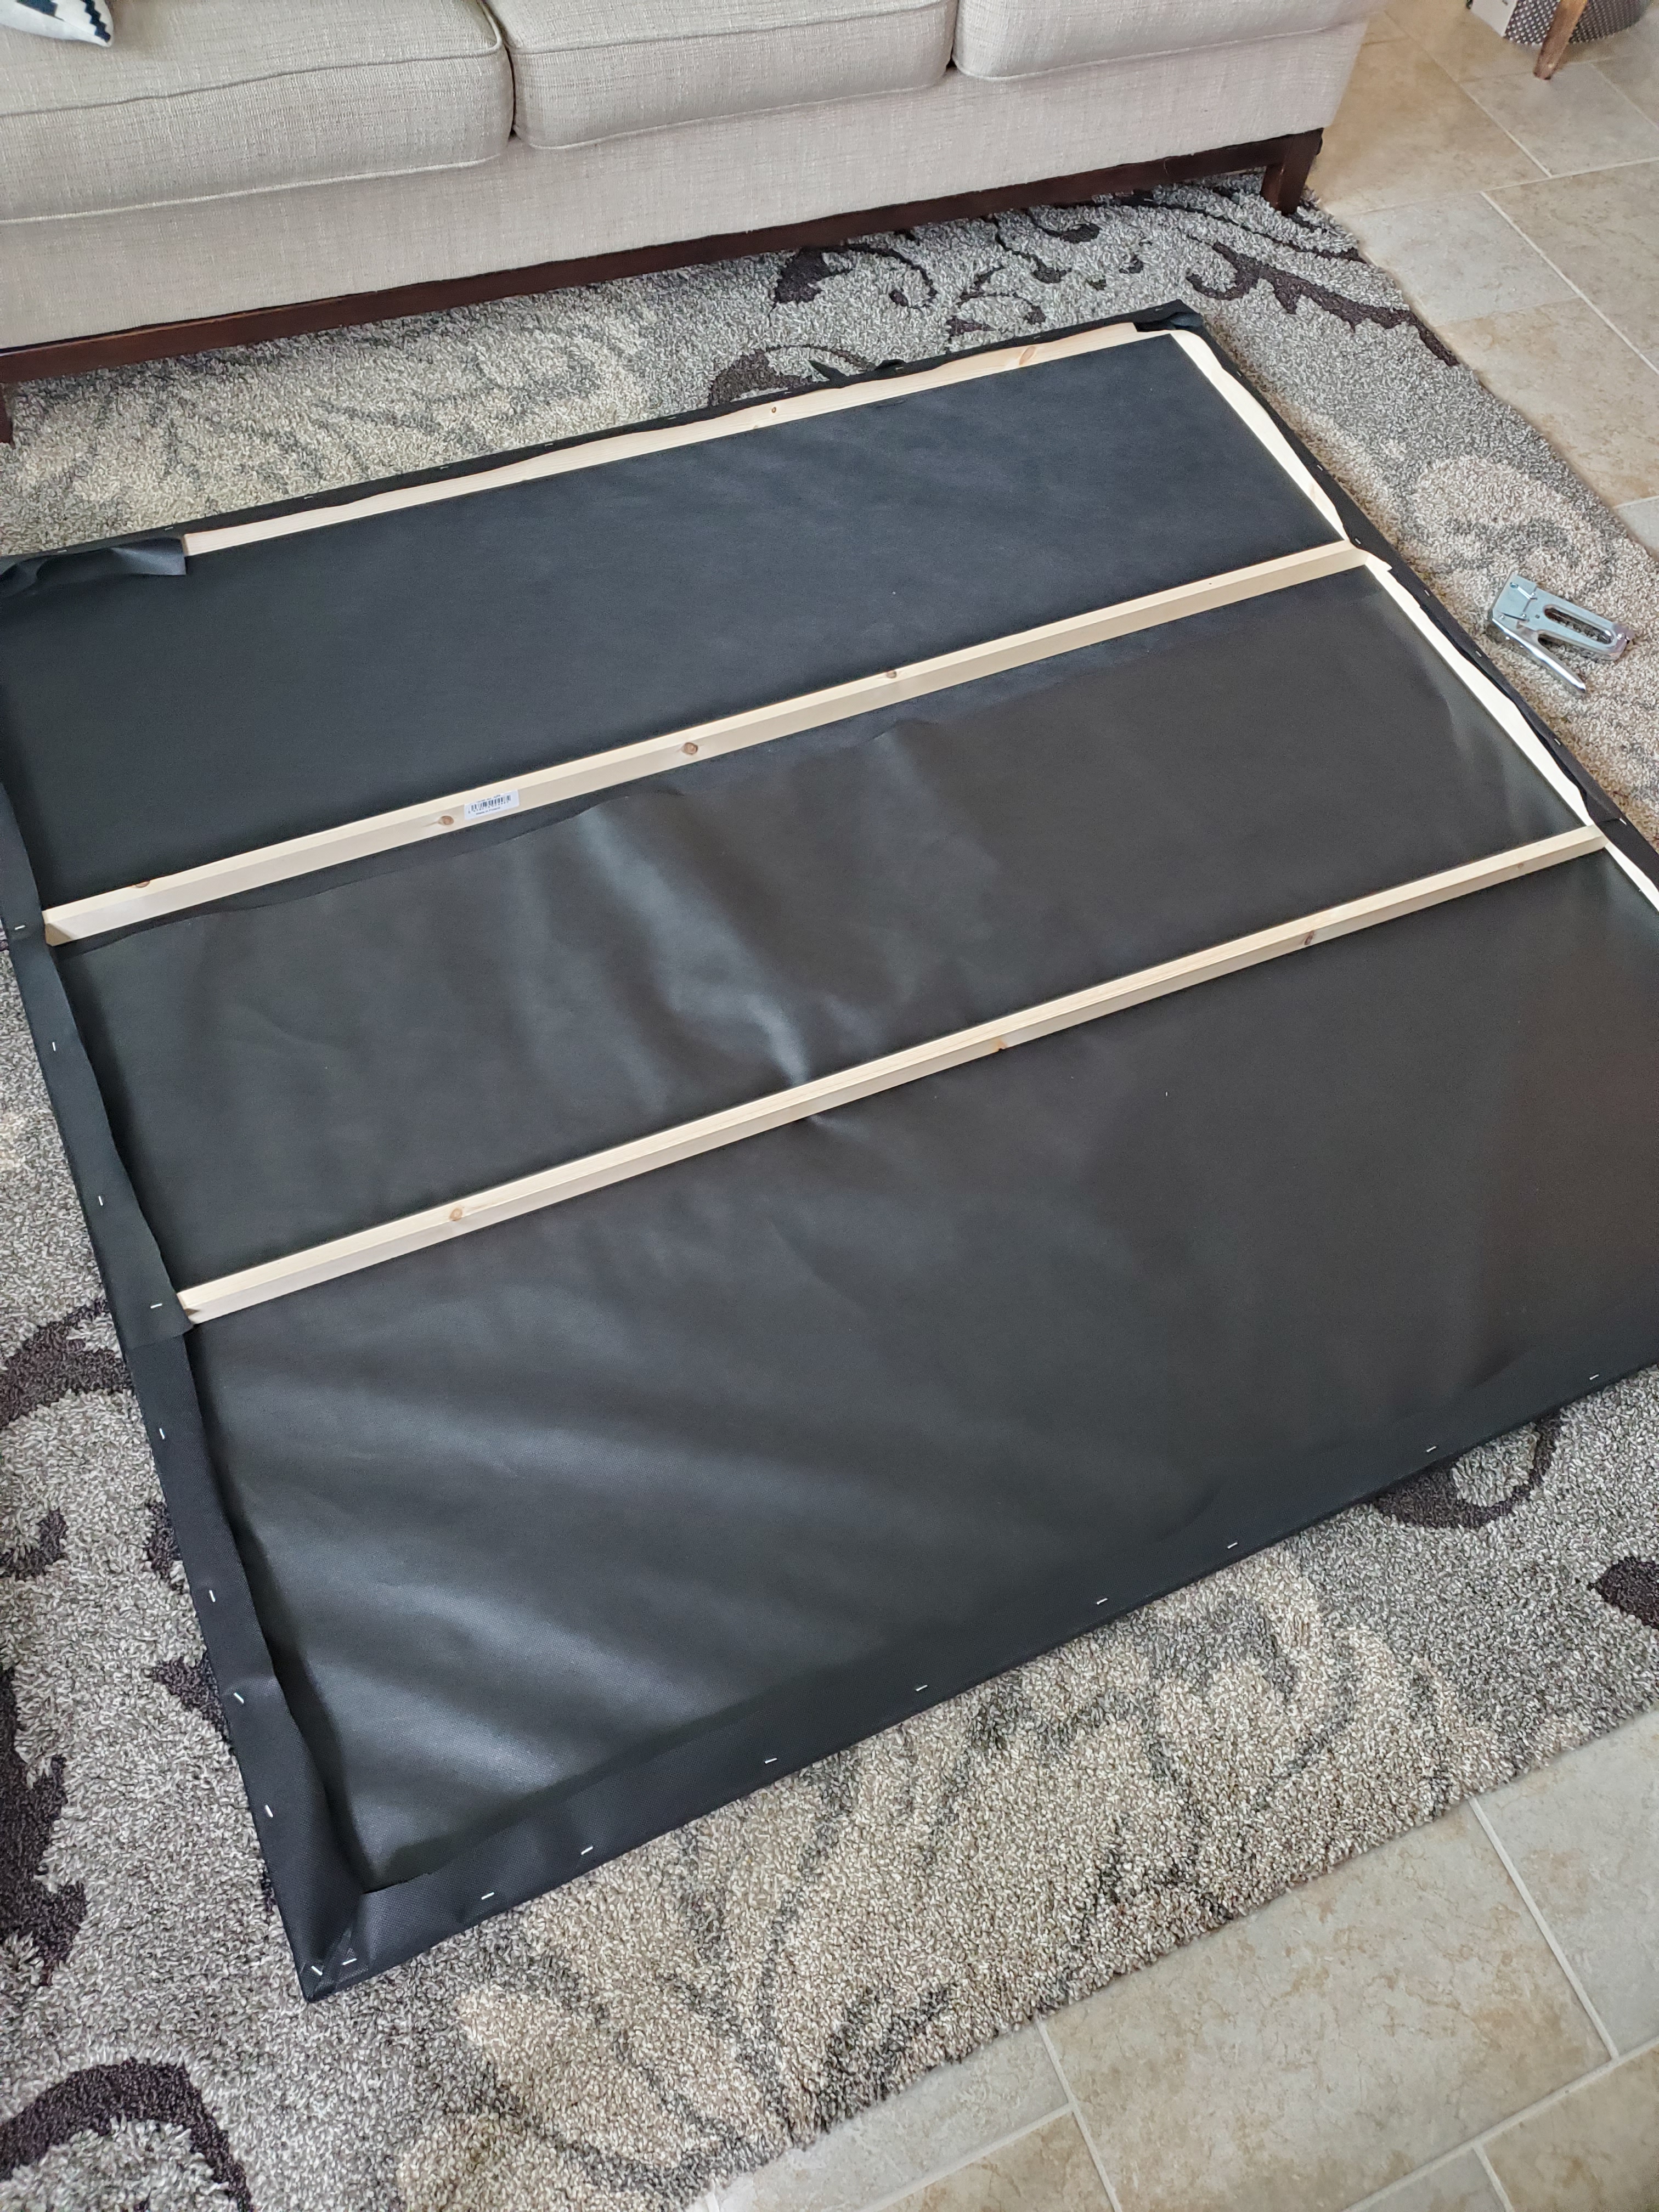
Step 3: I stretched my weed barrier tightly over the frame and stapled it to the wood. I trimmed excess fabric as needed.

Step 4: I ironed out the tapestry, then attempted to stretch it over the frame. At this point I realized that the tapestry was not exactly the size advertised online. It was perhaps an inch short in all directions, which meant that my frame was now too big for the tapestry that I had.
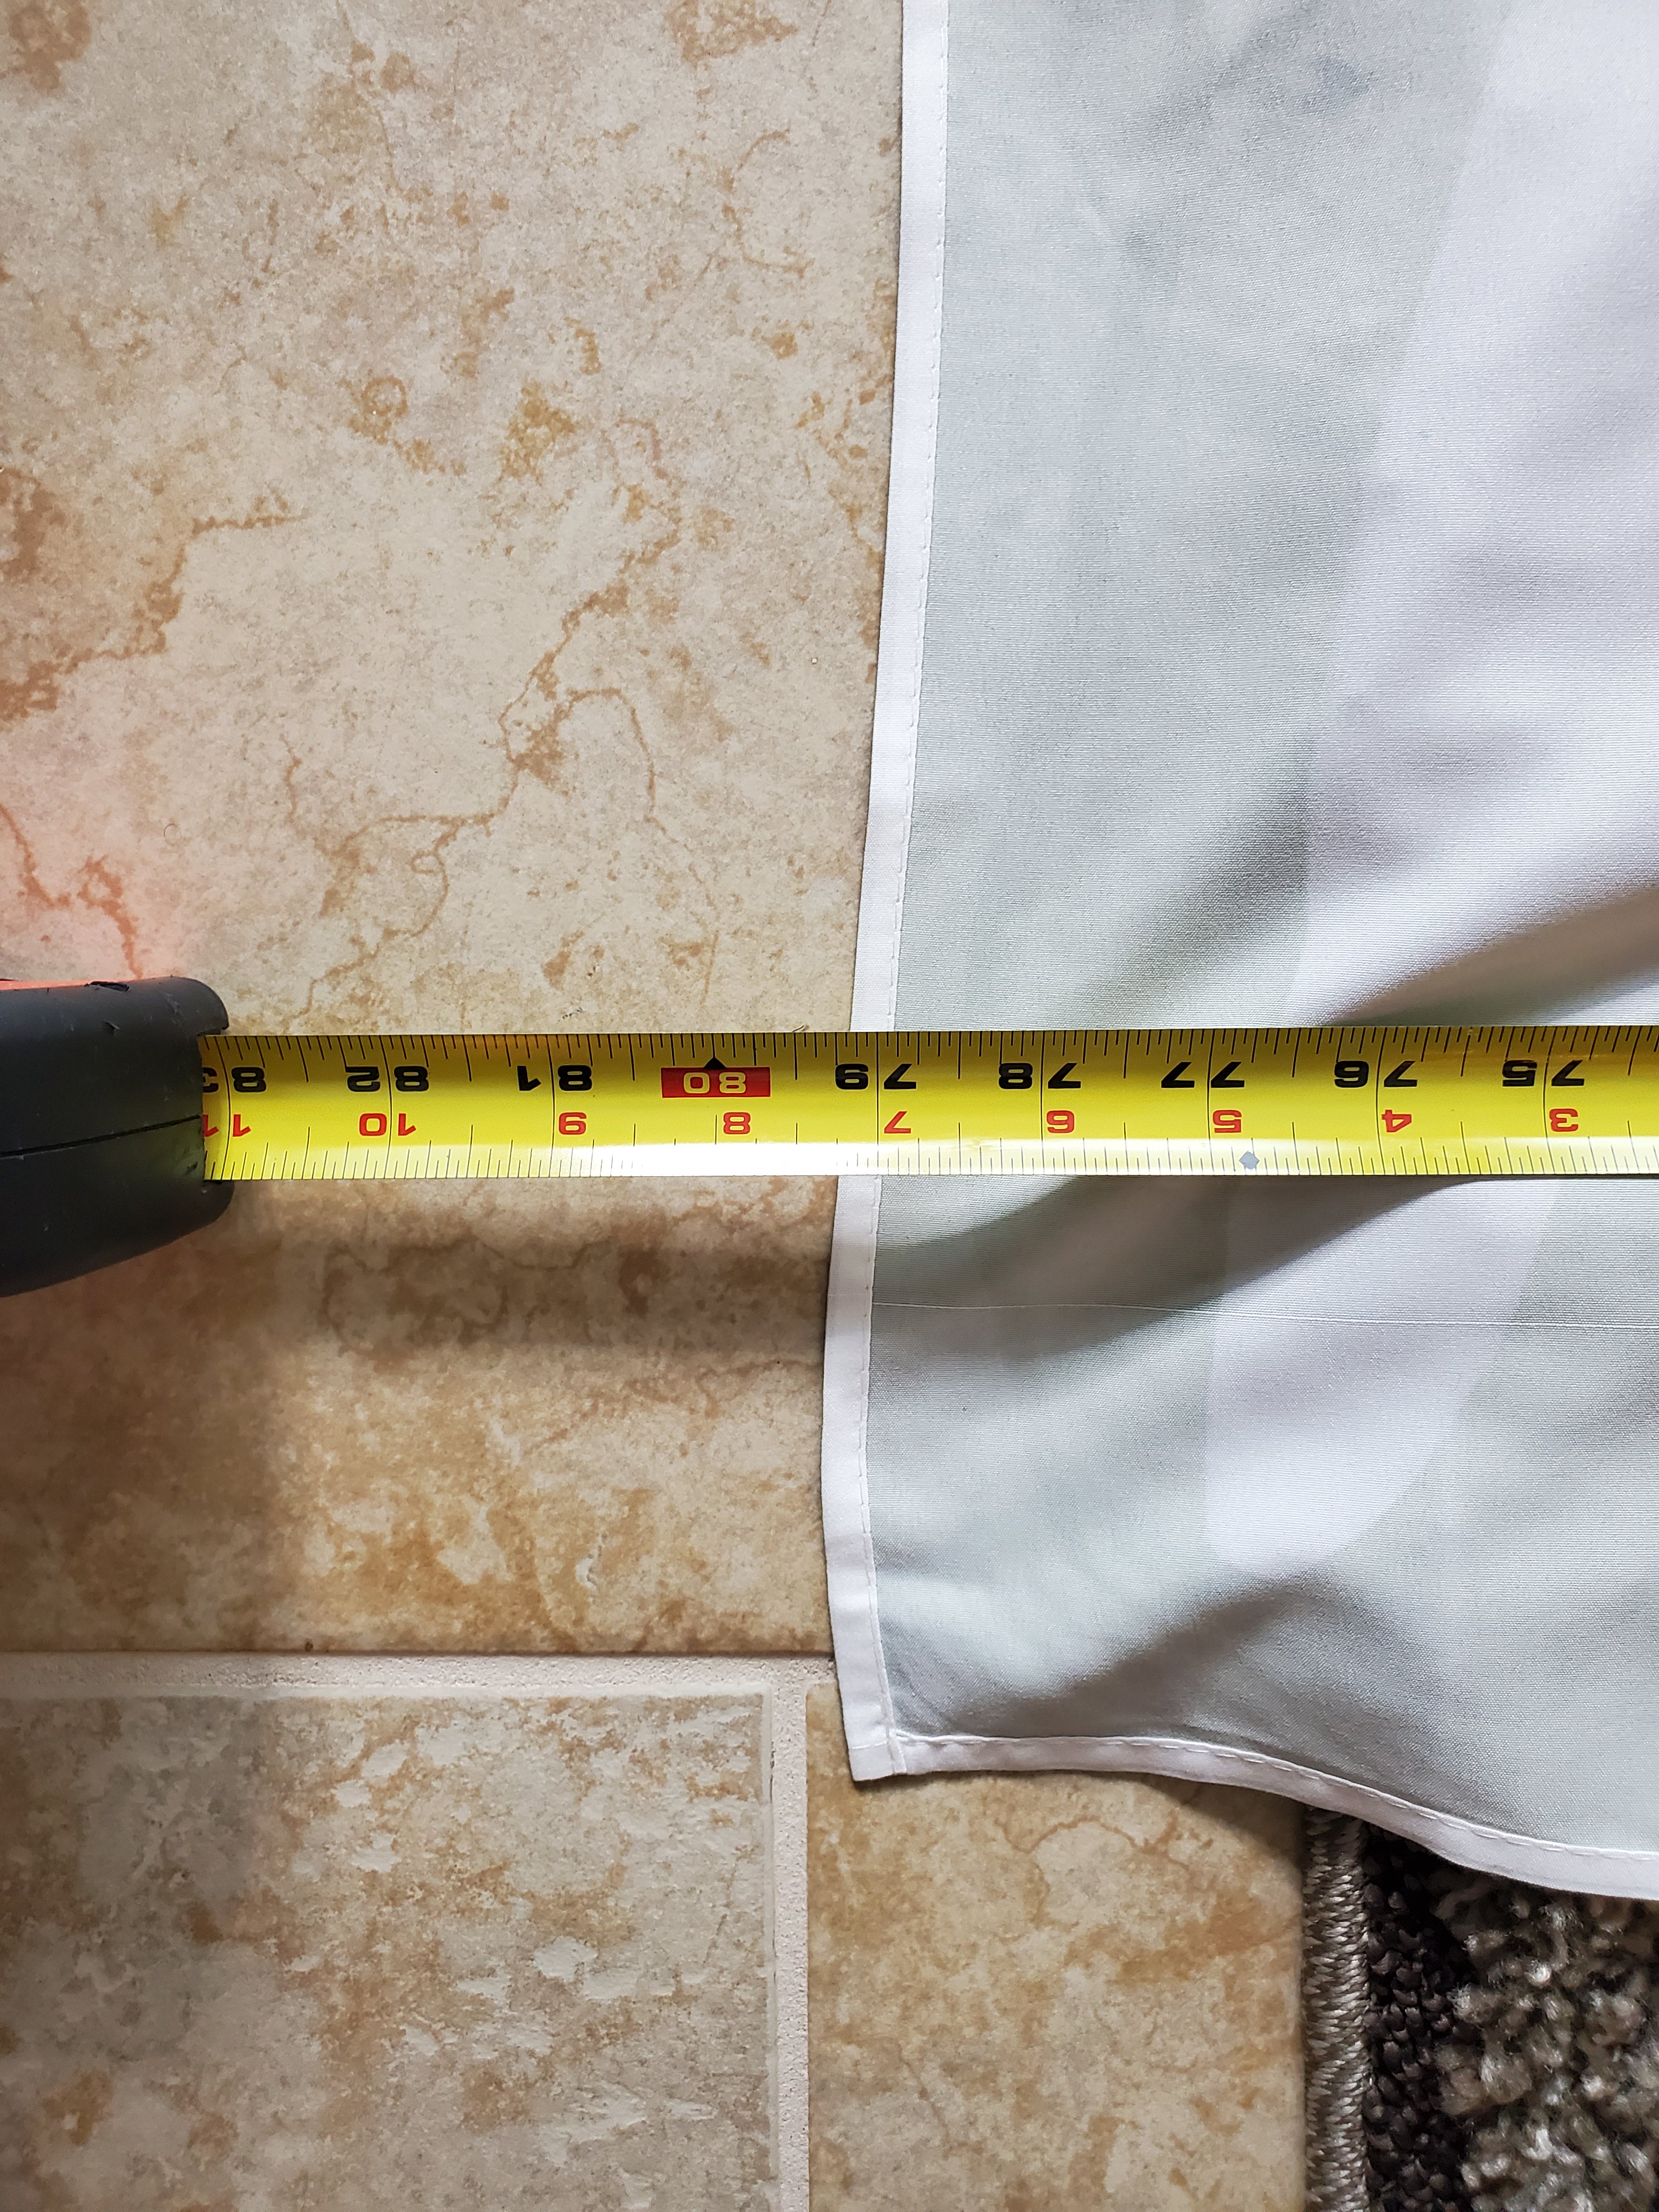
In the same moment I made this discovery I realized I was hungry, the kids were rowdy and restless, and MisterE was pretending he couldn’t hear any of the commotion. So, defeated, I shook my fist at the sky and abandoned the project altogether.
I’m very dramatic when I’m hungry.
After feeding myself and the kids, I realized that I simply had to change my design a bit (flipping from a landscape to a portrait orientation). I could deal with the fact that some staples would show on the outside of my frame.
To avoid unsightly staples, learn from my mistake and add the following step to your project plan:
Step 1.2: Measure your tapestry before you cut your wood! Confirm the dimensions, and then build your frame with a two inch allowance on each side. Meaning, if your tapestry is 86” wide, your frame should be 82” wide. If your tapestry is 100” tall, your frame should be 96” tall. This gives you enough material to wrap around your frame and put your staples on the back where they won’t be seen by critical eyes.
Step 5: I used my handy dandy canvas hangers to place the artwork. I did it myself and I can tell you without a hesitation that this is definitely a two-man-job! I had to put both kids in the pack-n-play so they would stay out of my way, which meant they SCREAMED in protest the entire time. I then proceeded to nearly knock the TV over four times. I also managed to strain my groin. Just another day in the life.
Don’t be like me folks…ask for help! And then stand back and admire your creation.
See? Easy-peasy, inexpensive, and full of personality. You’re welcome.
I’d love to know what you think about our choice of artwork! Is it weird waking up to a giant faceless head staring down at you in the middle of the night? Absolutely! But we live for ‘weird’ around here. If you get jumpy at night, perhaps try a soothing landscape painting.
What ideas do you have for adding MAJOR personality to your homes? I’ve got lots of blank walls and I’m always on the hunt for my next DIY. Let me know in the comments!
Have fun!

Don’t forget to like, share and subscribe so you get PaperDiem updates directly in your inbox.
Want the 'how' after the inspiration?
The WanderHome newsletter is where you'll find more in-depth guides, design notes, and a few life updates to help daily life feel a little softer.
I'll send my Home Health Checklist to help you pinpoint what already works and what's quietly causing you stress in your home.

Hi, I’m Chioma — a spirited explorer and interior designer with a soft spot for a full table. I help travel-lovers bring that vacation feeling home through travel-inspired design, simple hosting rituals, and storytelling that makes daily life feel richer. Read more…