")


Some of the articles on Casa Diem Life may contain affiliate links. If you click and make a purchase, I might earn a small commission at no extra cost to you. It's just one way we keep the journey going! Find out more in my Privacy Policy.
Hey there!
Missed me, didn’t you? I’ve had a rough couple of weeks so I decided to take it easy and get some much needed rest. “Rest” for me means doing things around the house that absolutely don’t need to be done, so don’t get too excited for me.
In this case, I “rested” by redecorating the house yet again. What can I say? It’s a compulsion at this point.
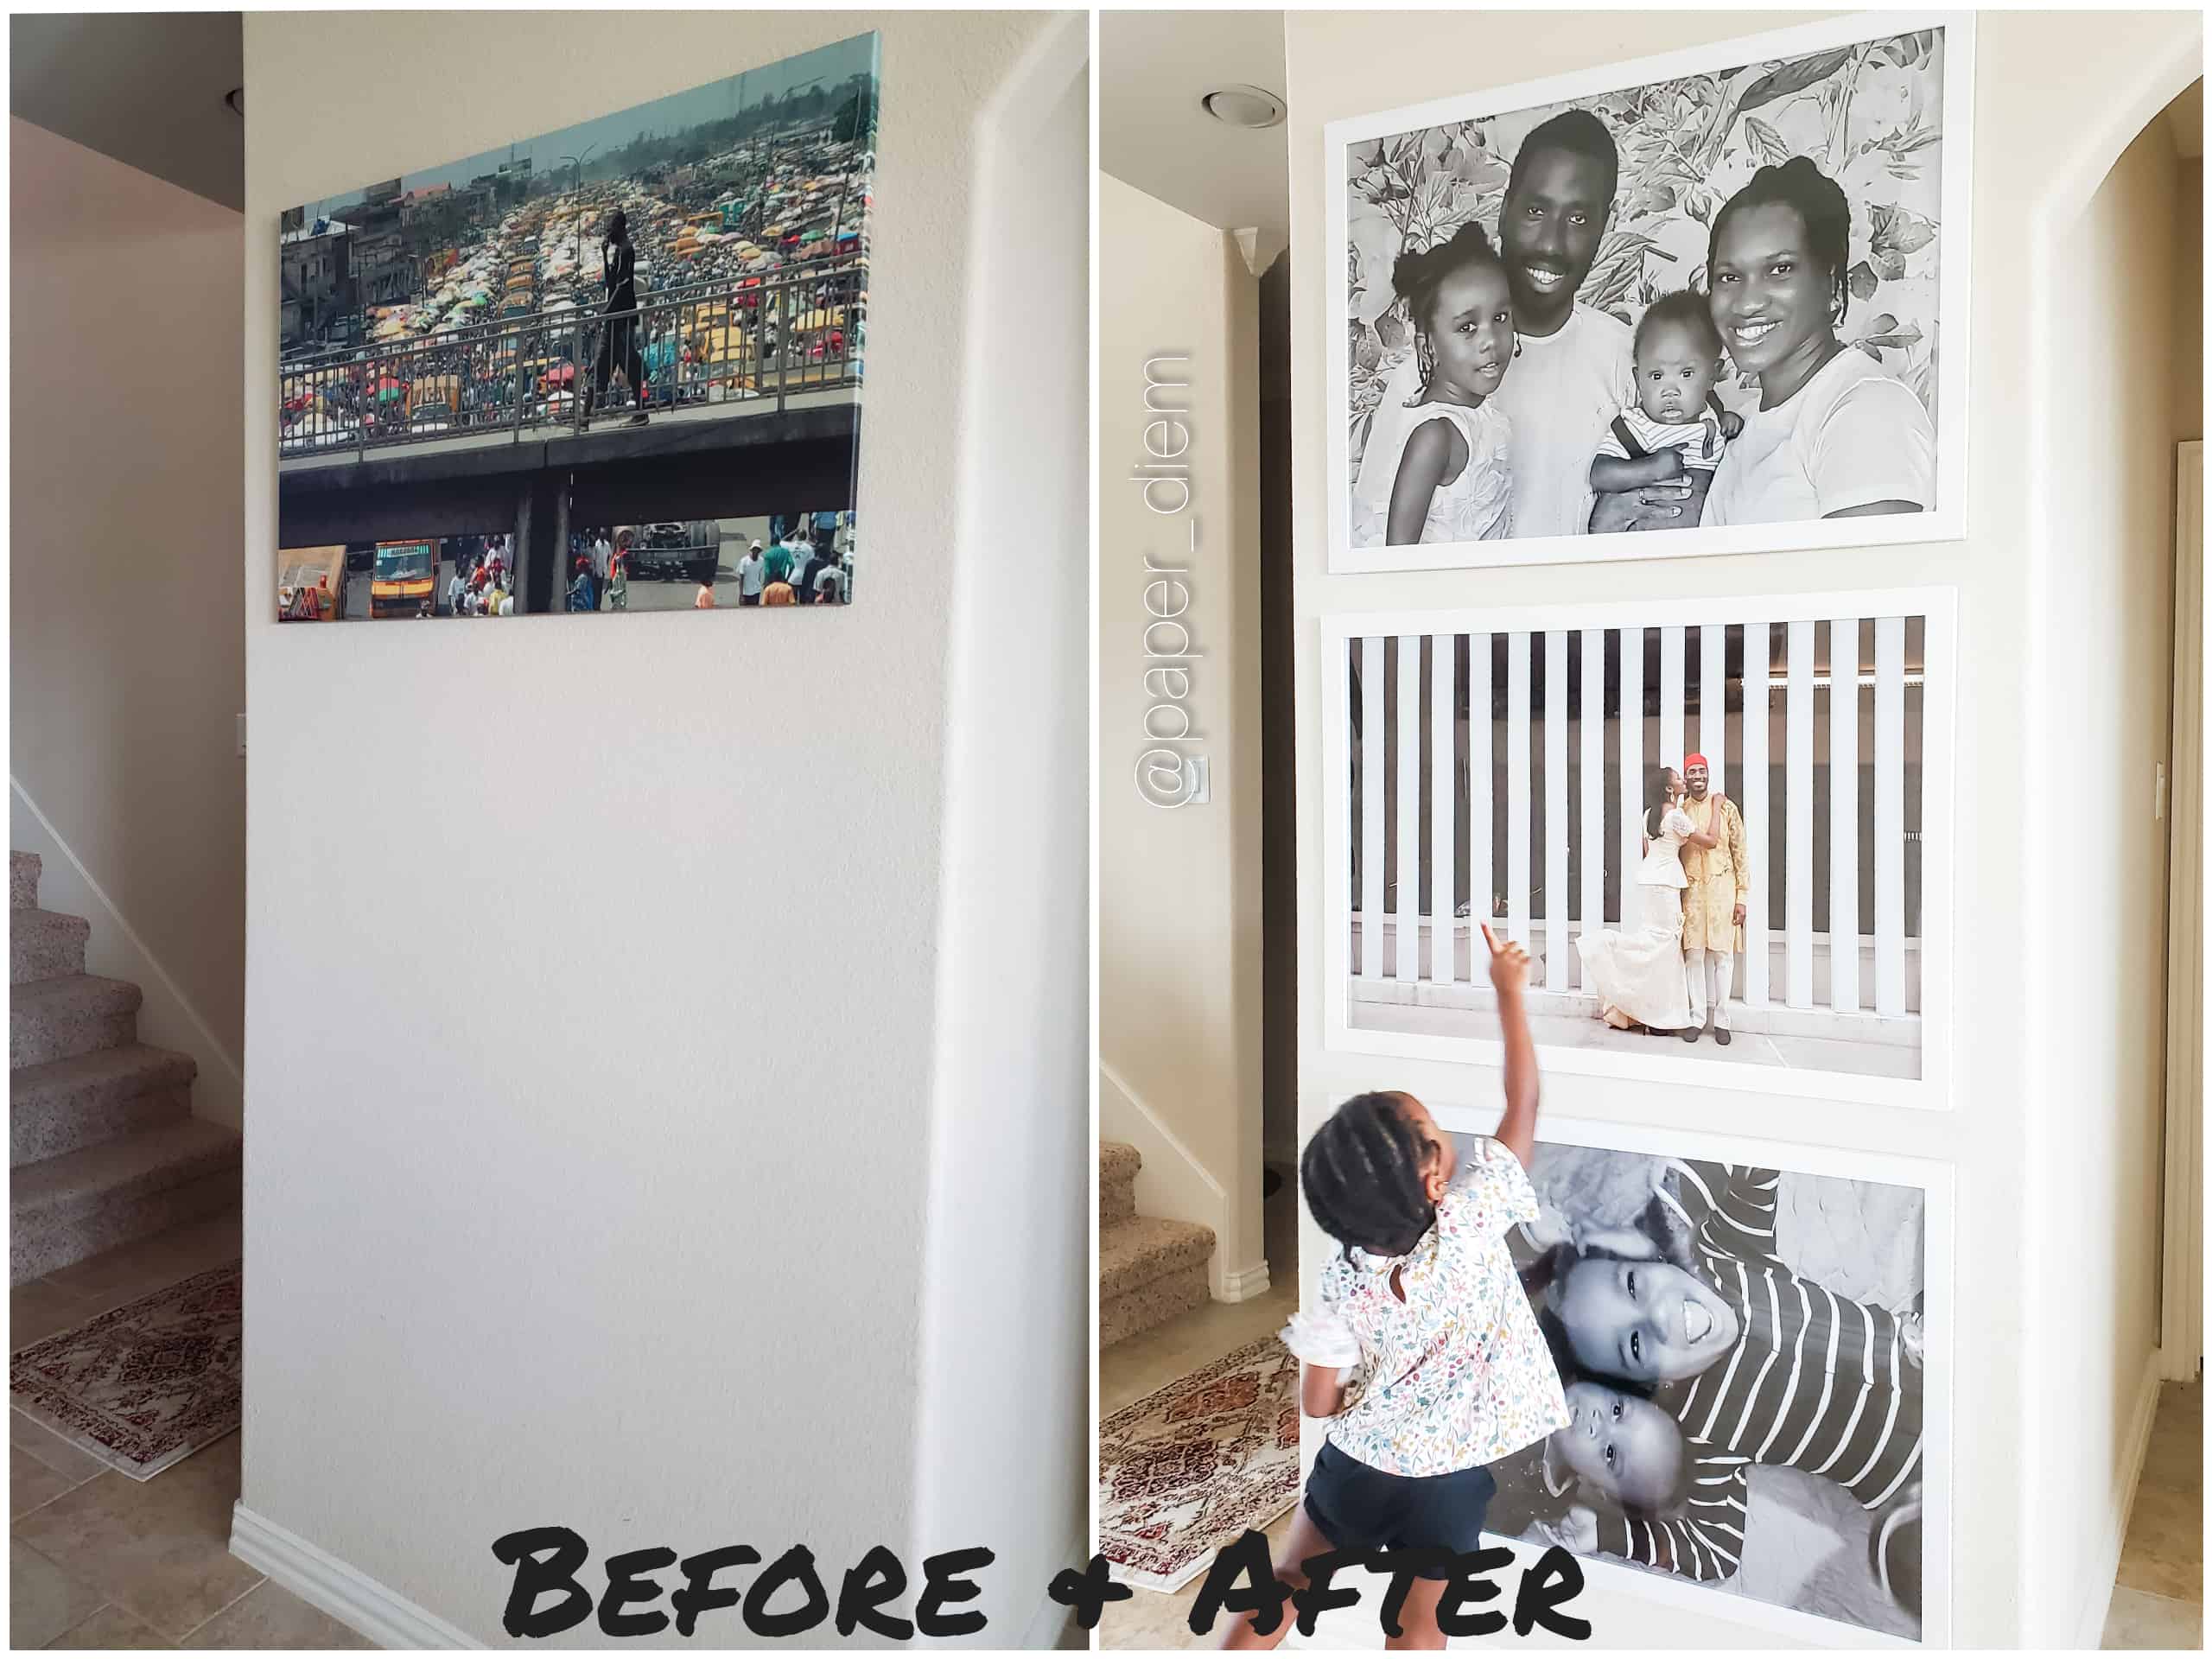
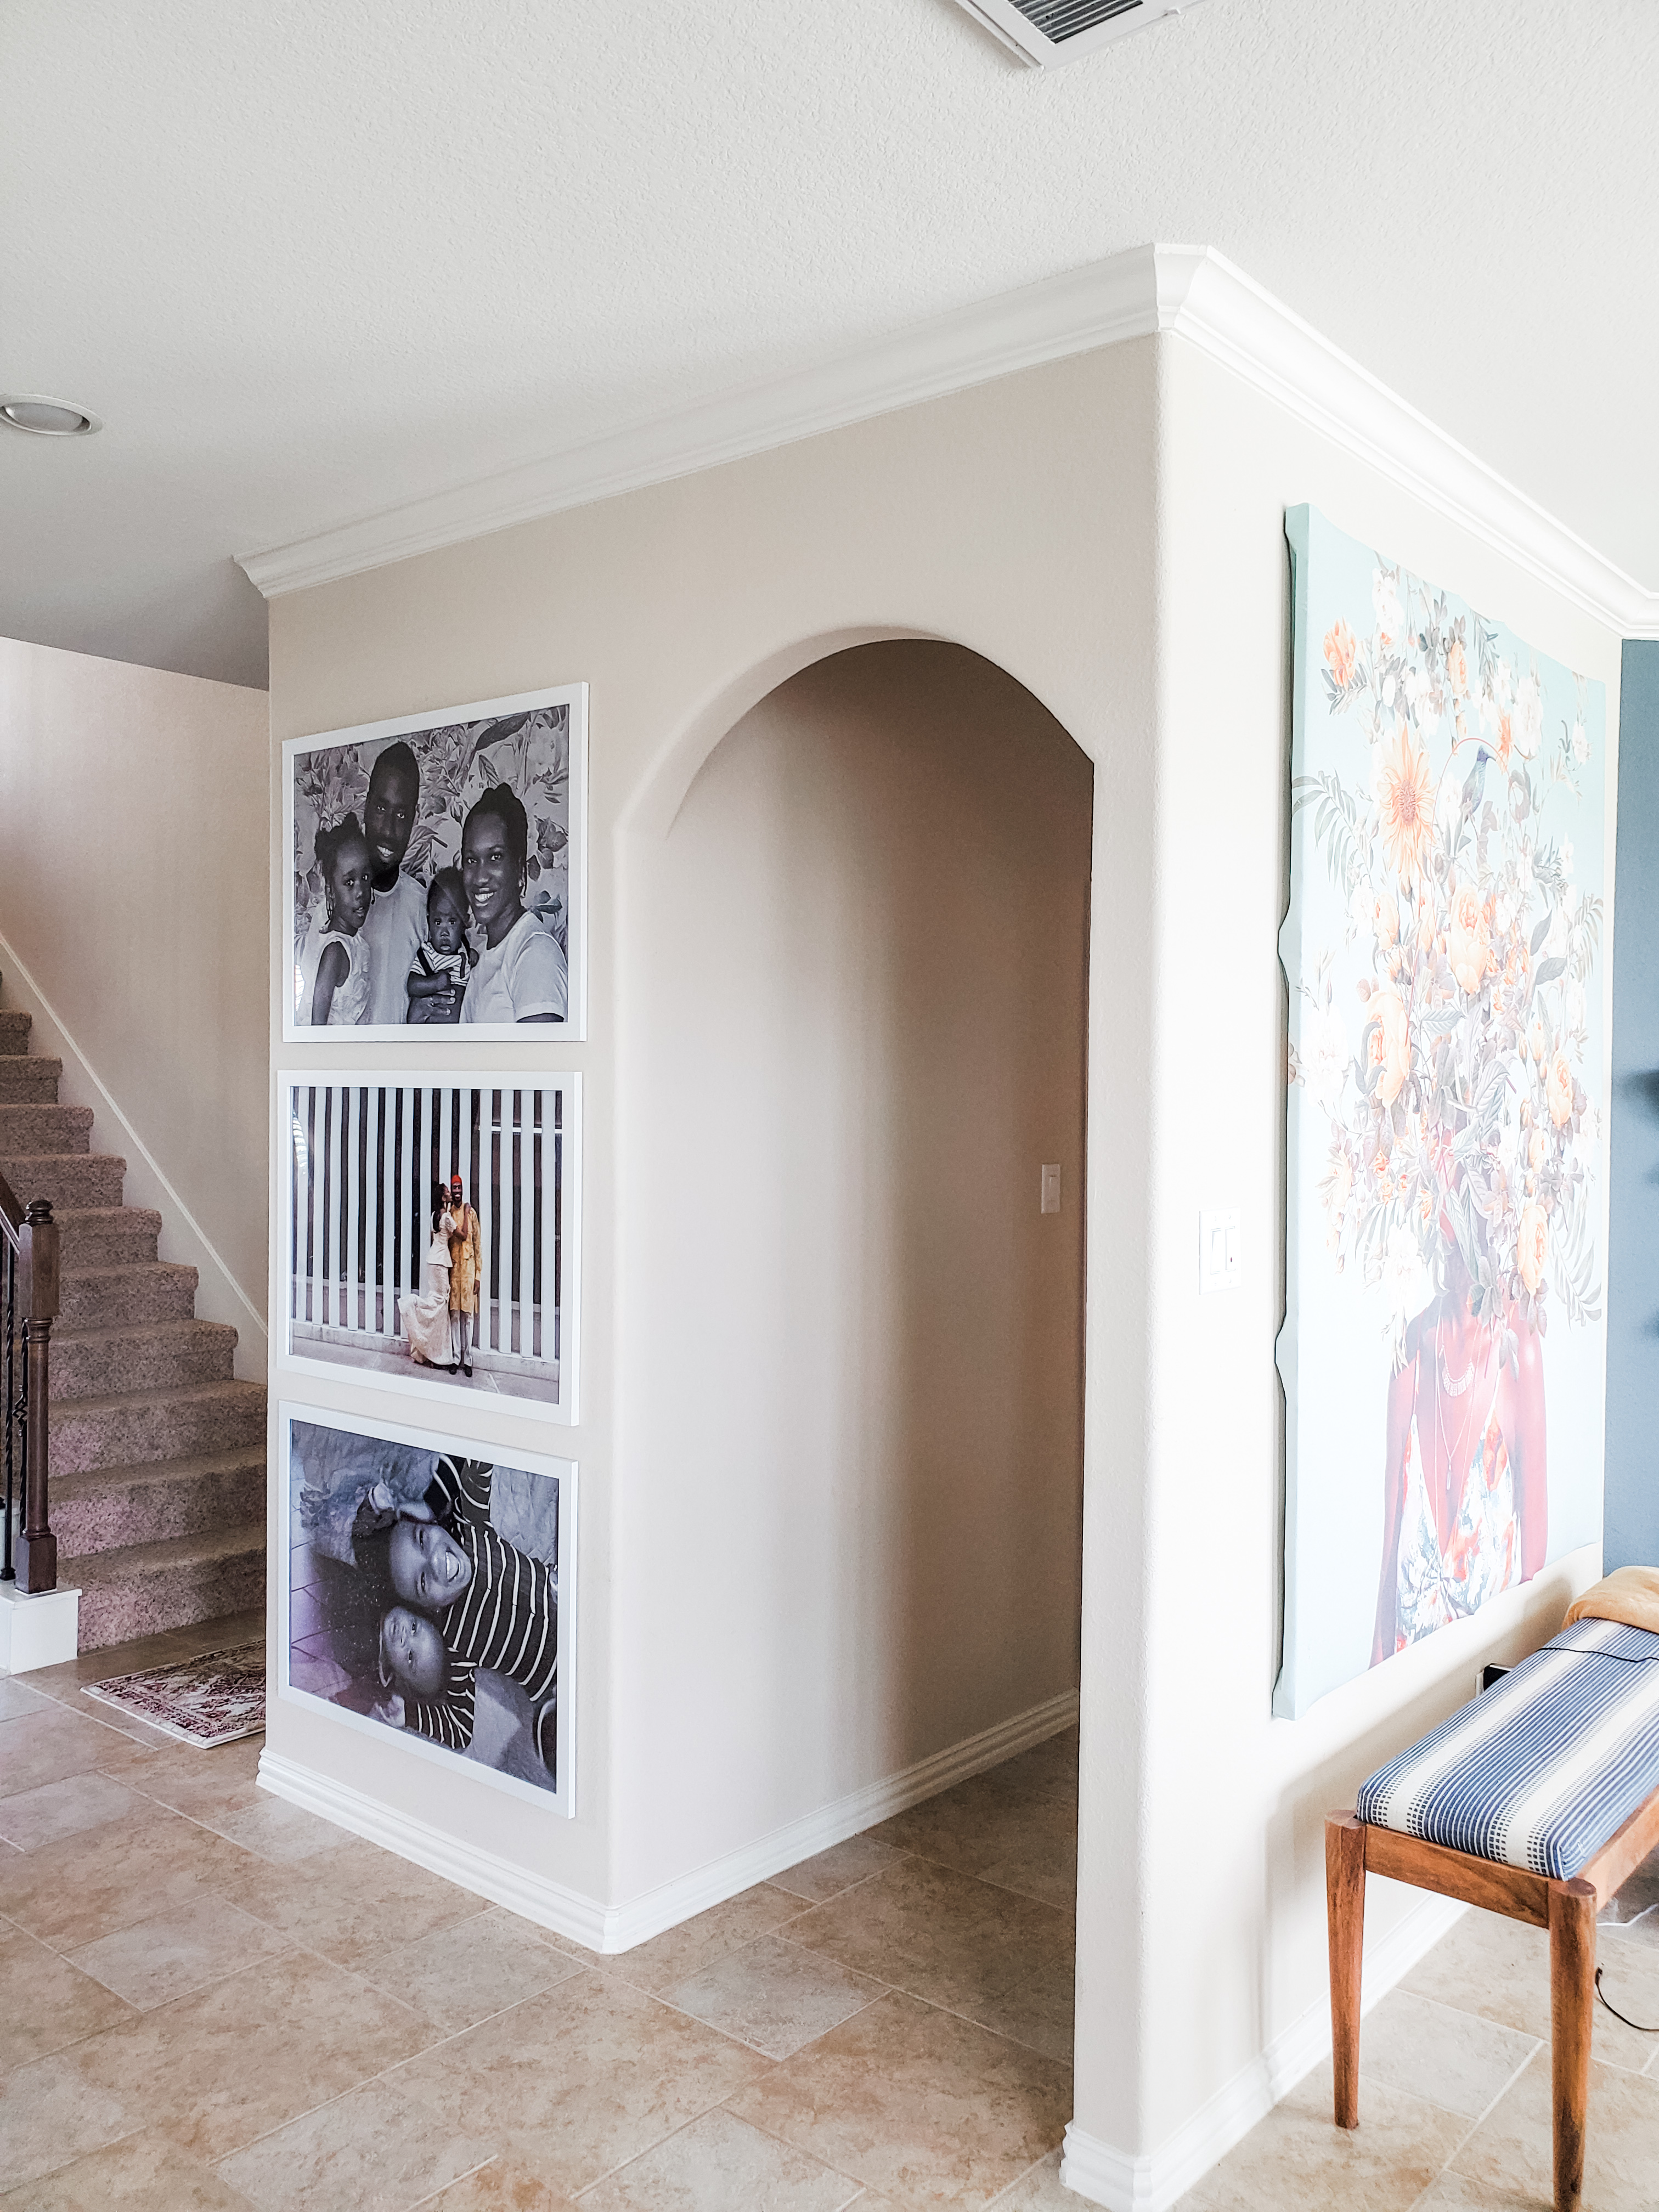
We have this one awkward, floating wall in our front hallway that’s been a major blah spot for me for quite some time. It’s been home to a canvas print of a bridge in the place where MisterE grew up. We love this canvas, really, we do… but it’s unframed and entirely the wrong size for that particular wall.
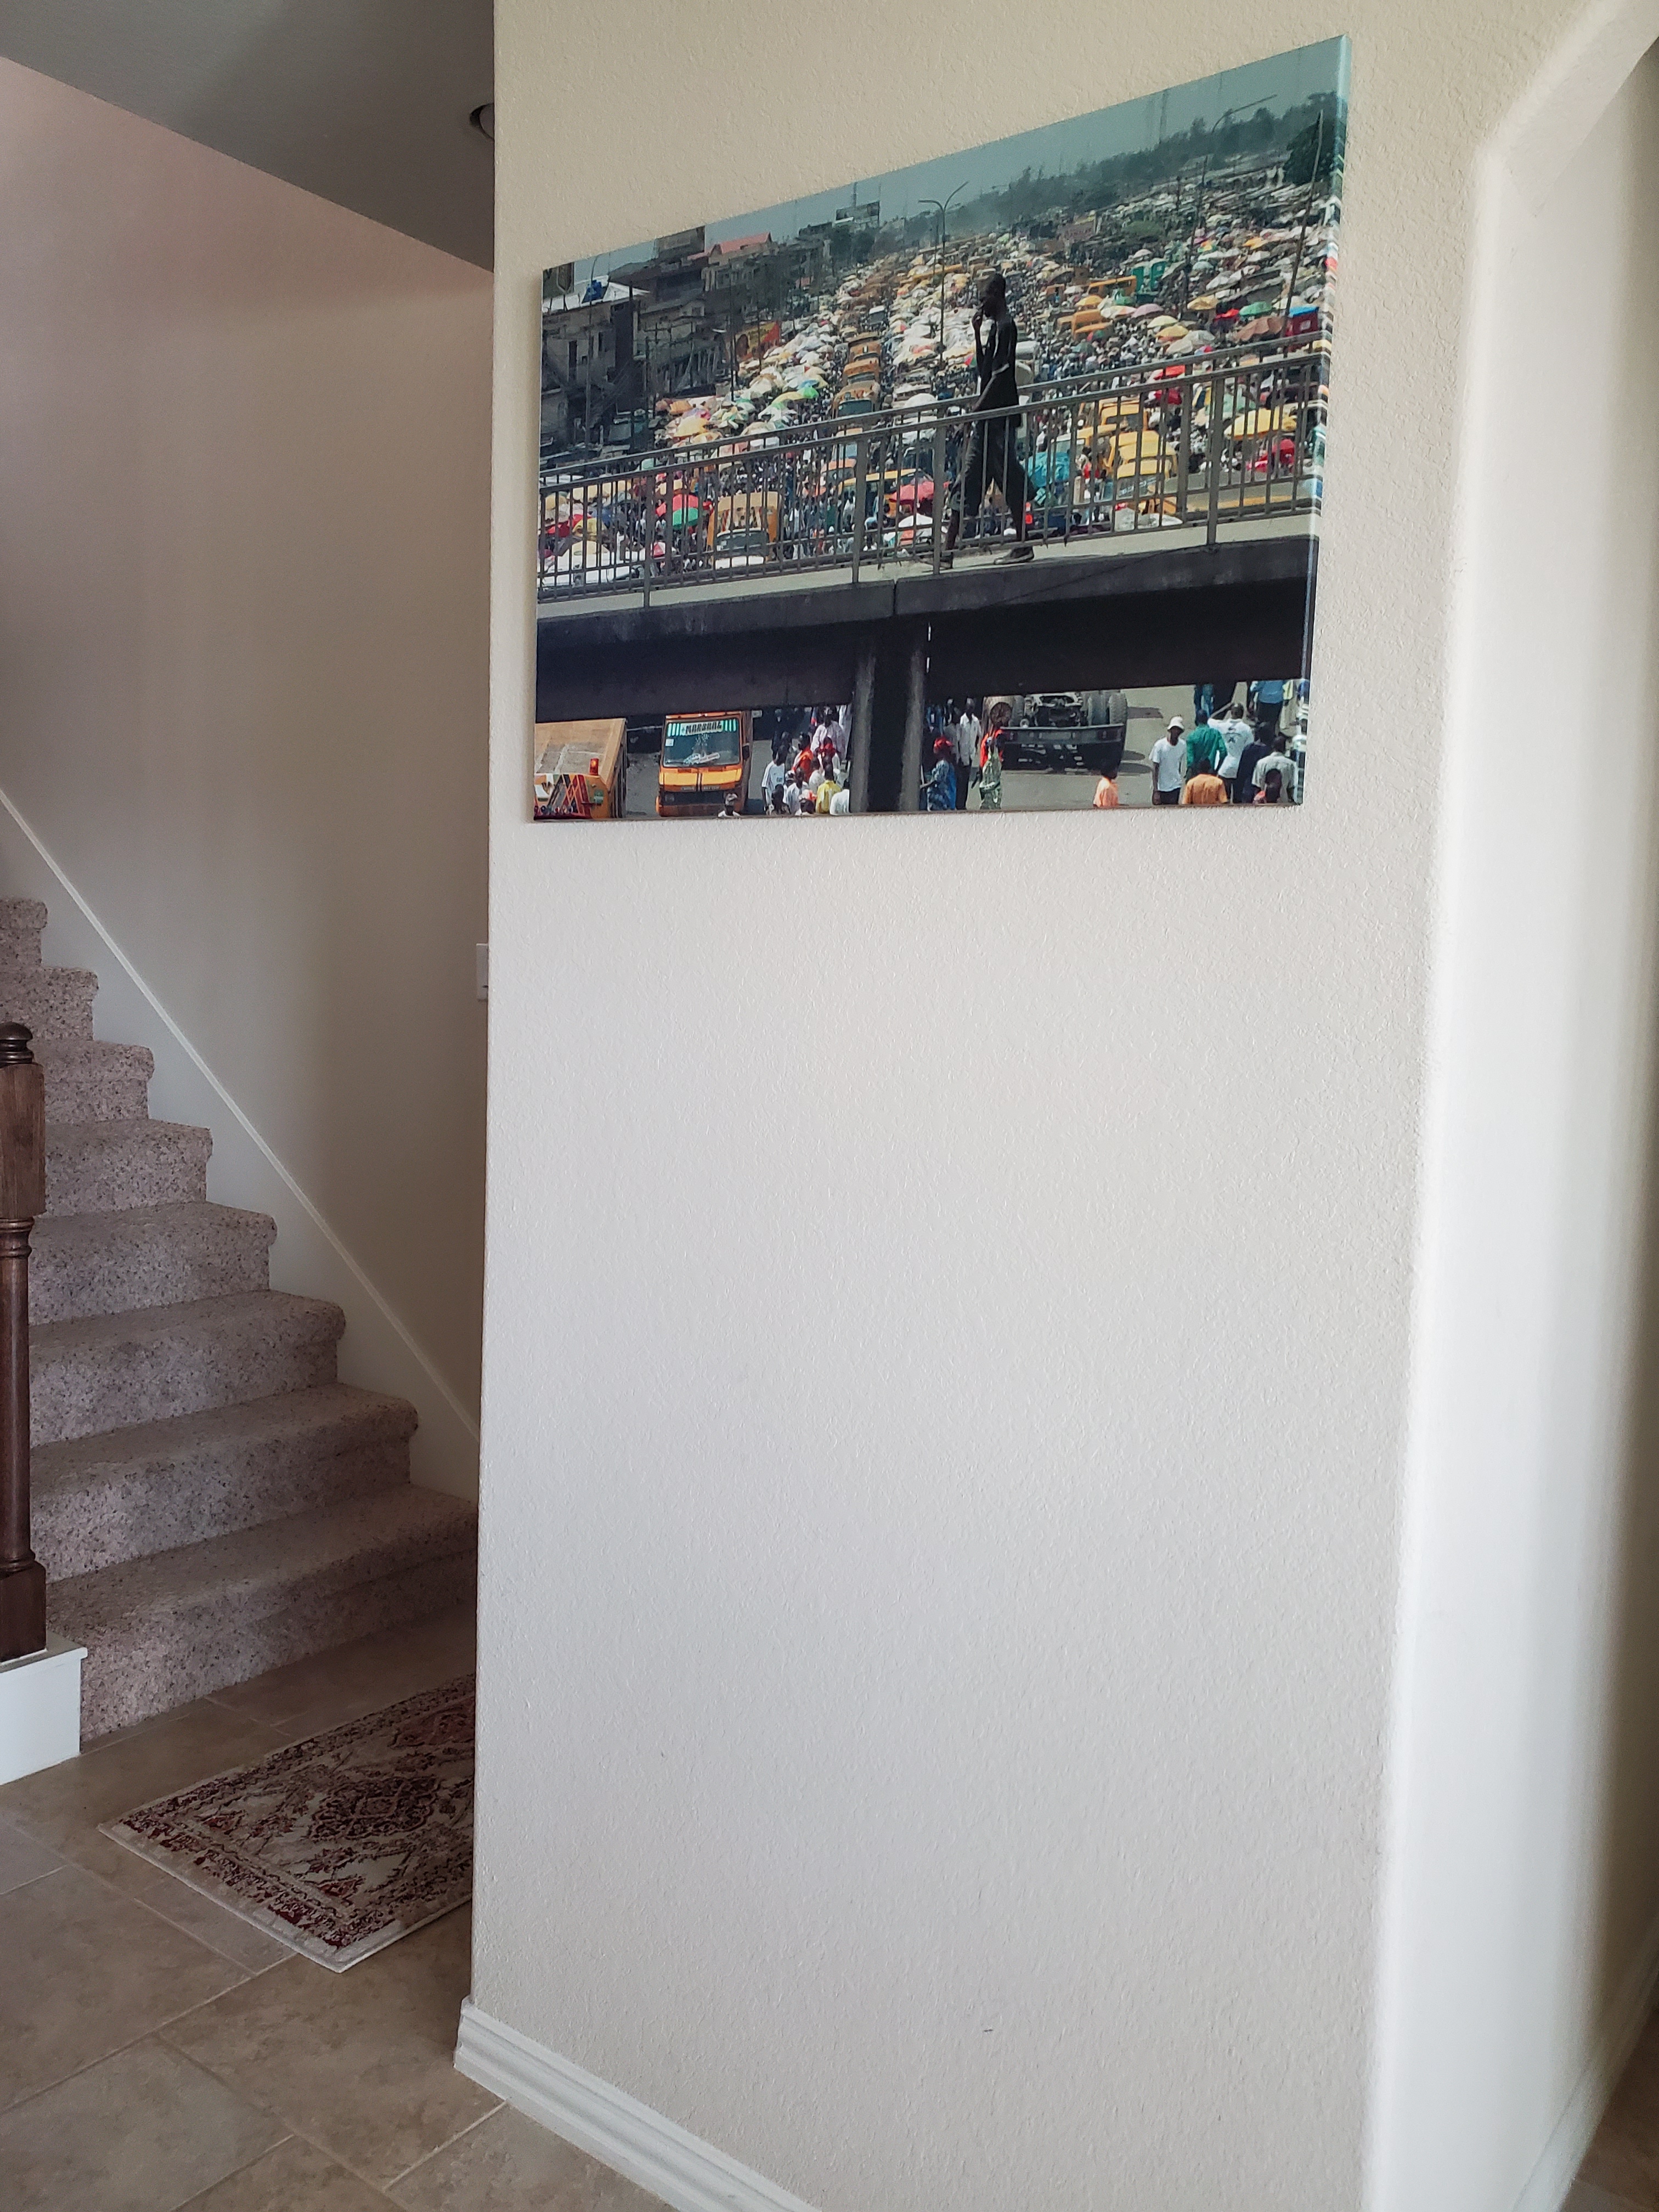
So last week in the middle of my resting I decided to move the canvas to a new home and upgrade our wall. Below are the steps I took to complete this 30 minute upgrade at a cost of $30 and some change.
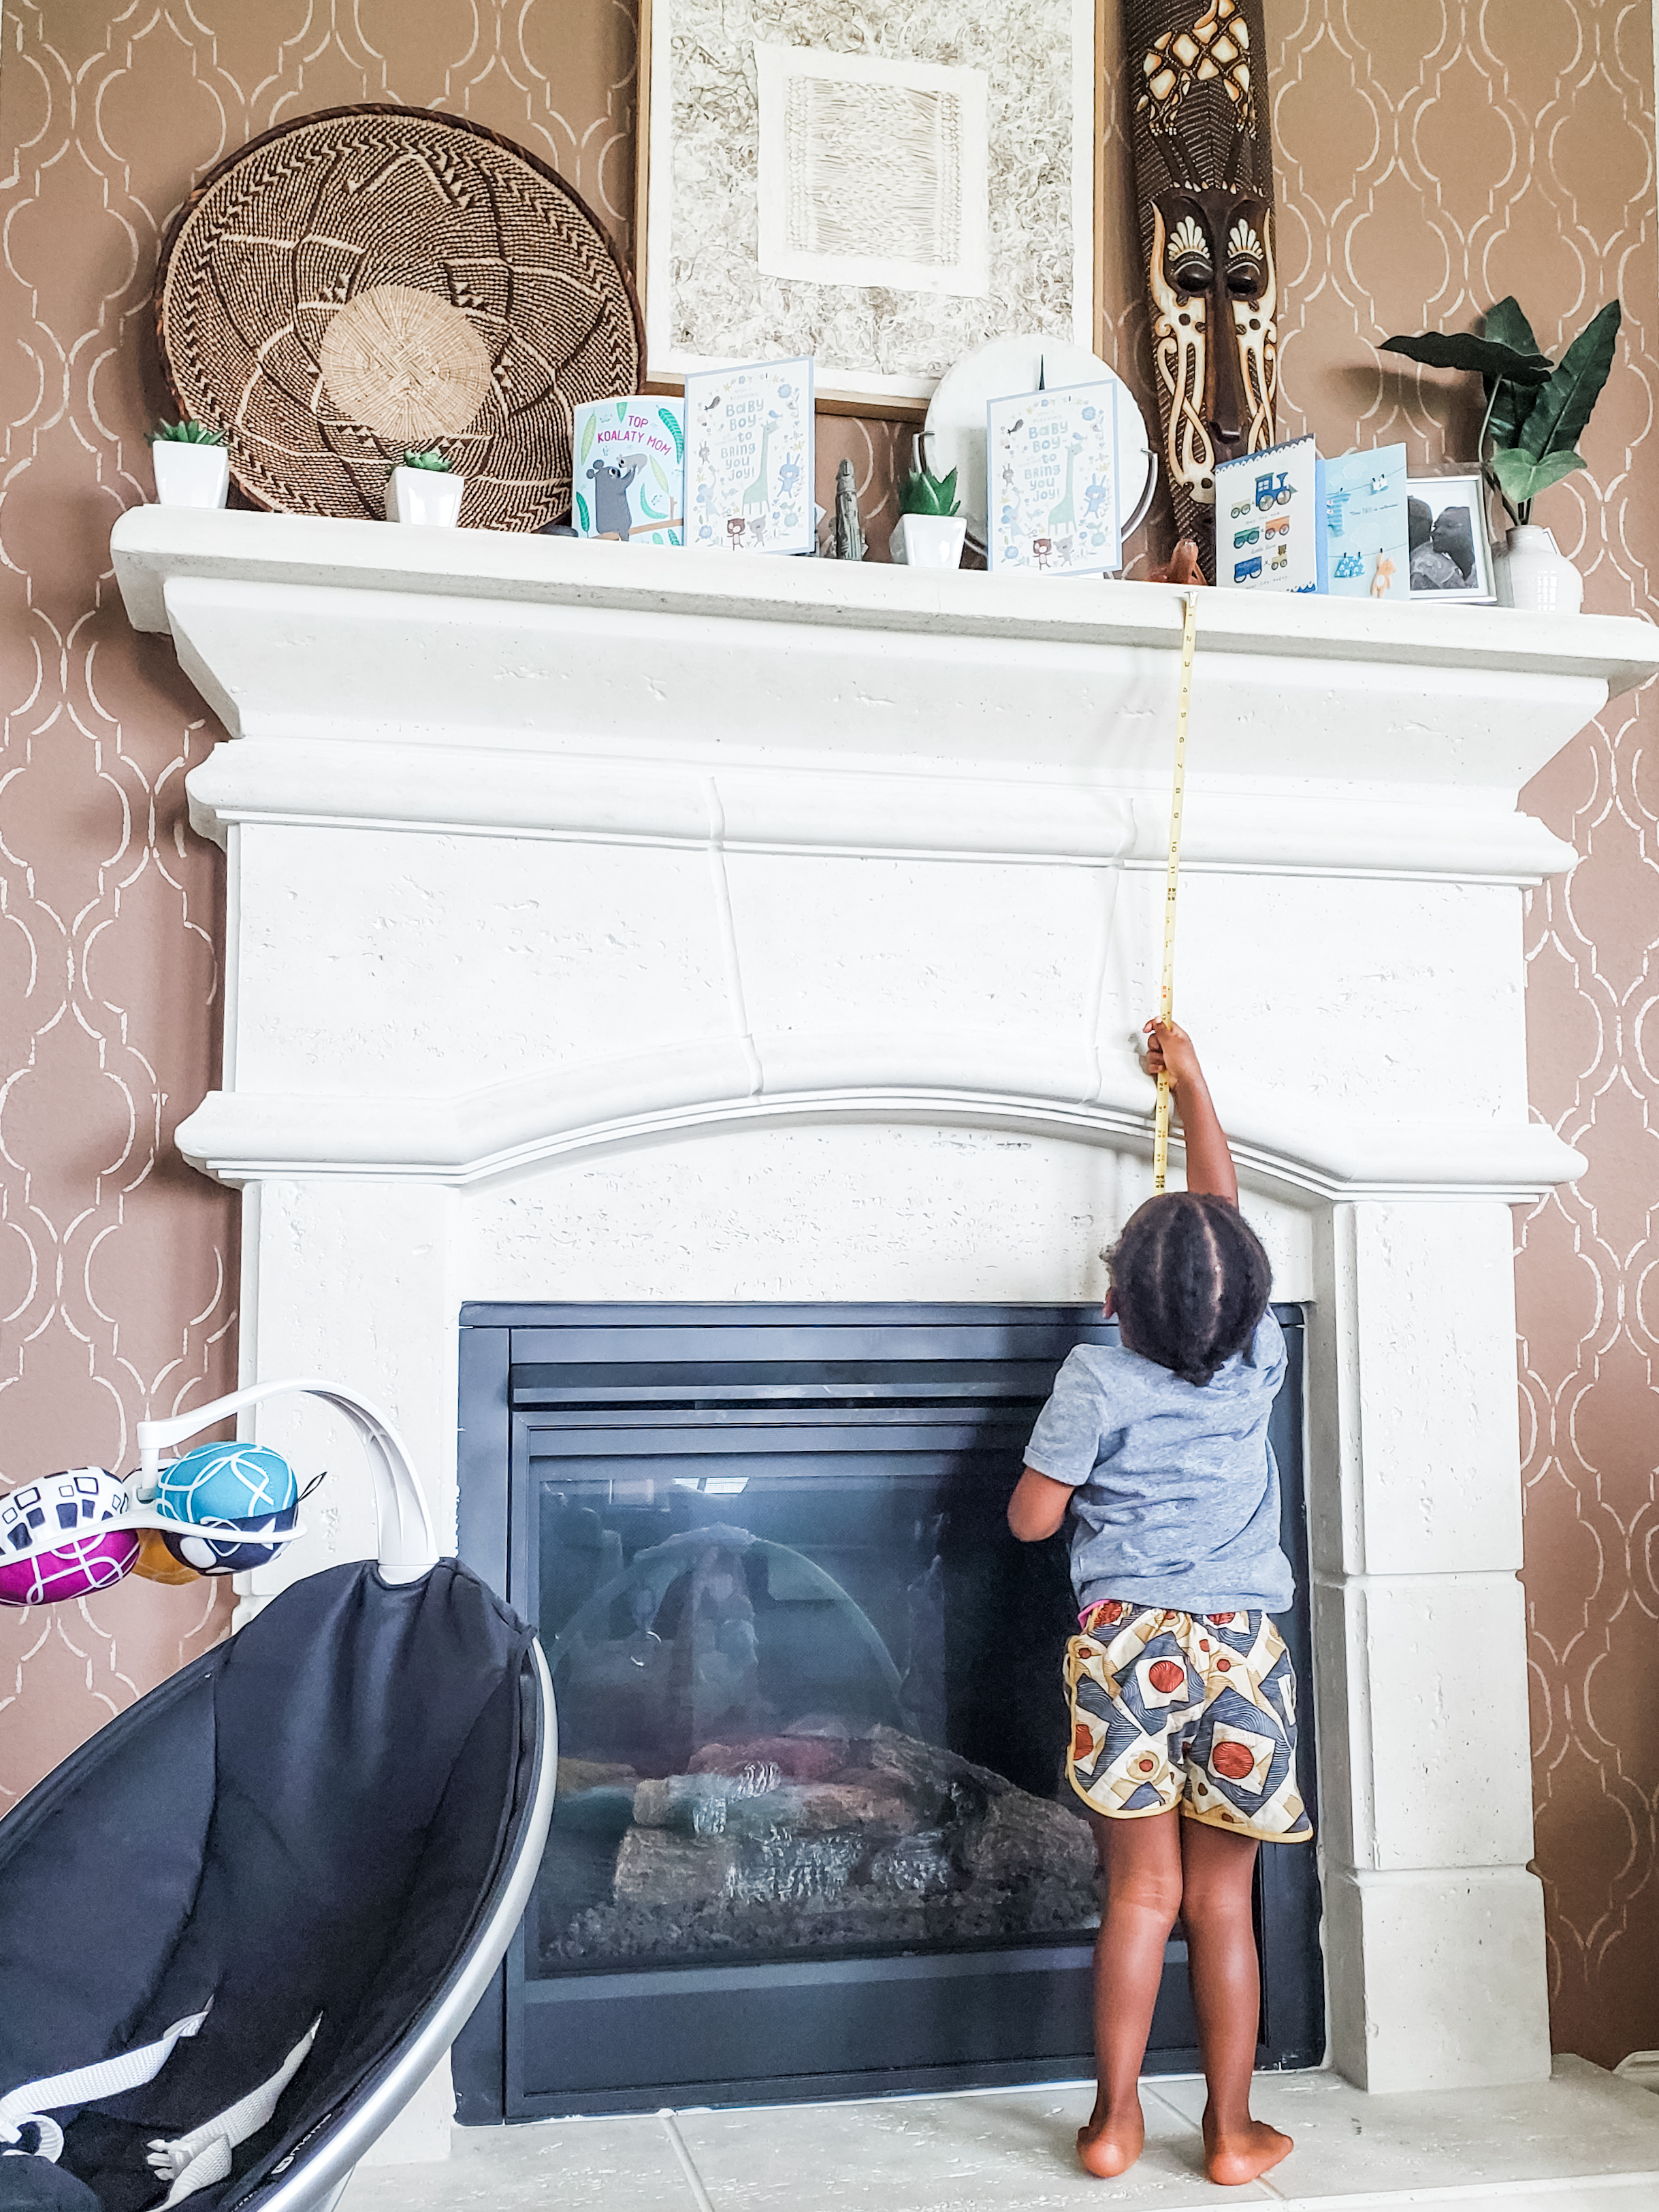
- I measured the wall when MisterE wasn’t looking so he wouldn’t know I was up to something. Again.
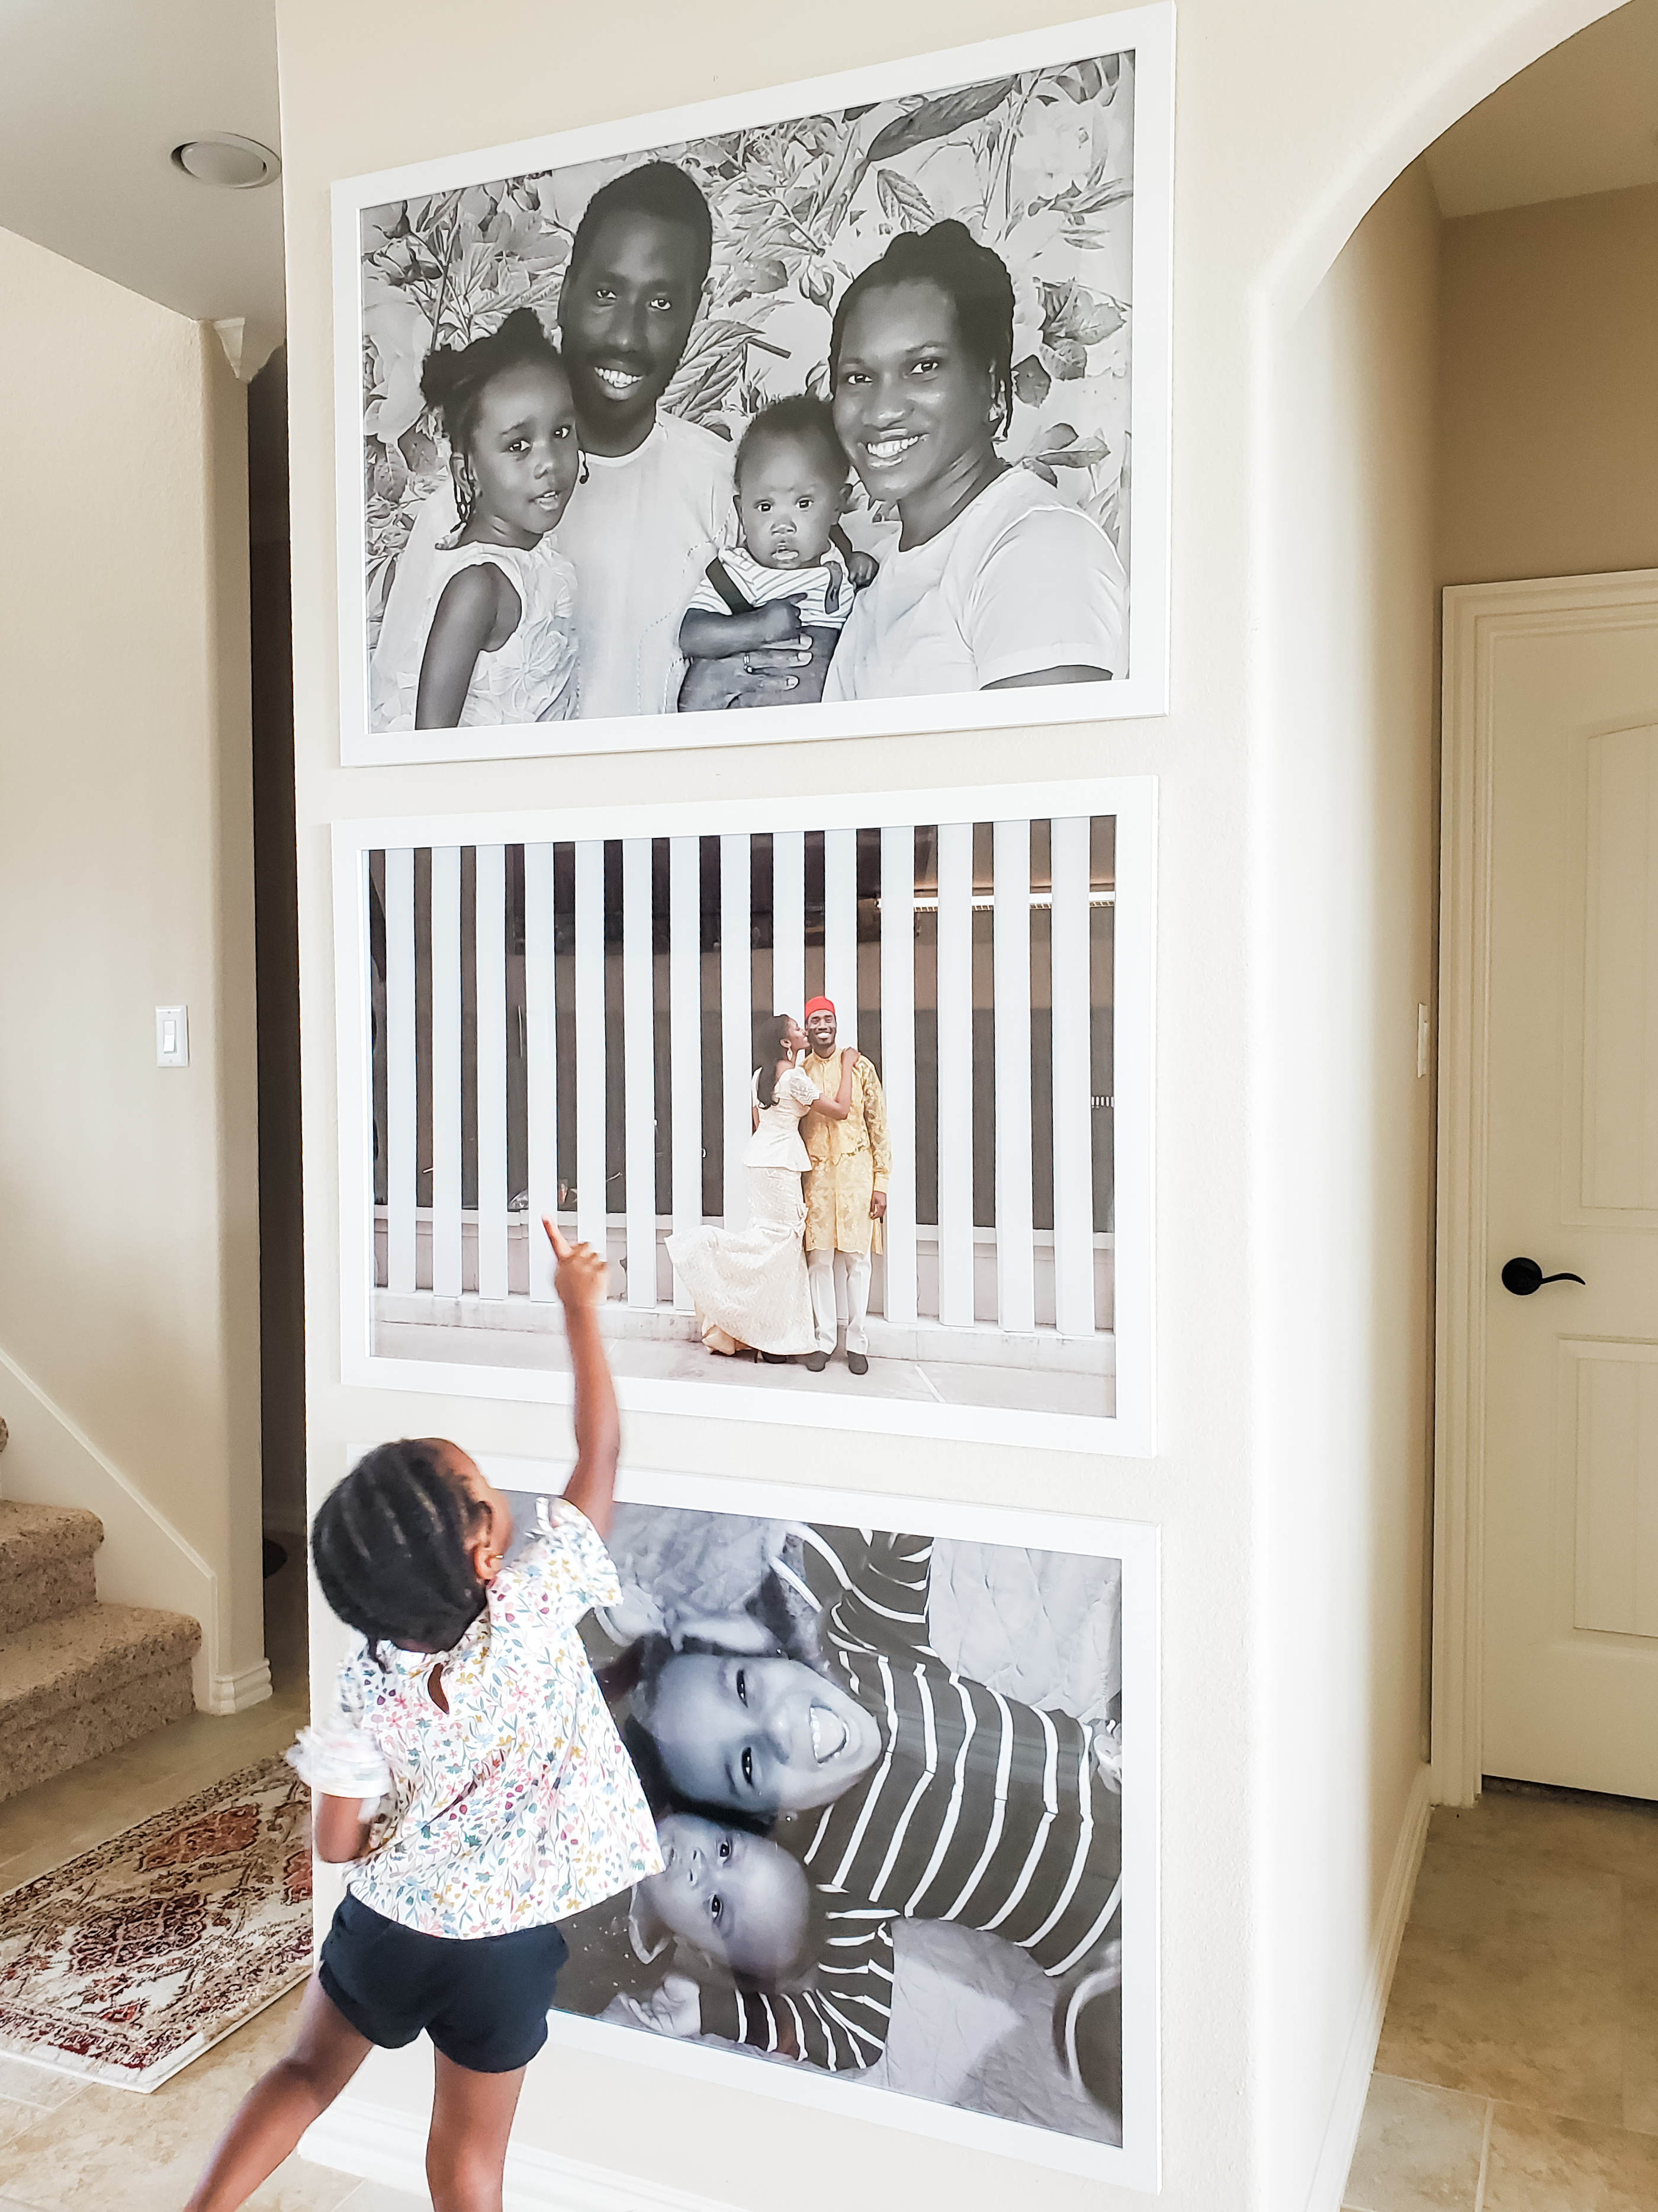
- I decided on three pictures that I wanted to hang on the wall. Three is a magic number, you know. I tried not to overthink it because that’s often what leads to my design paralysis. I just picked three pictures that currently make me happy, knowing that I have the power to change them out whenever I please.
- This is where we talk about money: I got my pictures printed at Walgreens! Yes, Walgreens. I’ve used them dozens of times for projects all over our house and they have really impressive print quality. What’s more, they offer same-day pick-up, and they almost always have coupons available. I was able to get my pictures printed for about $10 a pop.
I happened to have extra picture frames stored in the house, that’s why I didn’t have to buy any. Who keeps a store of 24”x36” frames in their attic, you ask? A chronic re-decorator, that’s who!
I buy them from Michael’s when on sale. At the time of this article they are priced at $49.99 each, with a “buy one get two free” promotion. So buying three frames would add an extra $50 to your budget. - I found the middle of my wall and used my laser leveler to measure out the placement of all my hanging hooks. Believe me there are MUCH simpler ways to hang a gallery wall – just check Pinterest! You could probably shave a good 10 minutes off this project following one of the tutorials out there.
So why didn’t I follow one of the tutorials and save myself some time? Well… clearly, because I like to suffer. - I let Hurricane tell me exactly what I needed to do to complete my project successfully. Her instructions changed with every iteration, so I took it all with a pinch of salt. She then demanded that she wanted to use the hammer. I said ‘no’ and she went stomping upstairs to report me to MisterE. Chief started screaming because it was 7 seconds past his dinnertime, and my mom called me to ask why I hadn’t called her all day.
You can probably just skip step 5 and shave another 5 minutes off this project. - The last step was really just to hang and align the pictures, step back, and admire my handiwork. I stared at that wall for a long time, because I knew those few minutes were the last time the bottom pictures would be free of toddler-sized fingerprints.

Now, a certain husband (who will remain nameless) insists that the wall was just fine the way it was. But this same husband also understands that a happy wife is the key to a happy life, so he agrees that the wall looks so much better now!
MisterE — poor guy — knows I have my eye on many (so many) areas of the house. I’m sure he’ll be keeping a close eye on the budget, which is great. It keeps me on my toes!
I’ll be sure to share updates as I get all my projects done. I even plan on making some of my own custom furniture very soon. There is a 52% chance I’ll fail horribly at this endeavor, but I have no doubt it will be hilarious to watch, so stick around!
Do you have any spots in your house that are in need of a little razzle-dazzle? Or is there an area you’ve recently infused with a bit of oomph!? Tell me about it down in the comments, or let’s connect so I can help you with some designing! You know how excited I get about your ideas!
Have fun!

Want the 'how' after the inspiration?
The WanderHome newsletter is where you'll find more in-depth guides, design notes, and a few life updates to help daily life feel a little softer.
I'll send my Home Health Checklist to help you pinpoint what already works and what's quietly causing you stress in your home.

Hi, I’m Chioma — a spirited explorer and interior designer with a soft spot for a full table. I help travel-lovers bring that vacation feeling home through travel-inspired design, simple hosting rituals, and storytelling that makes daily life feel richer. Read more…